
5 Lessons I Learned From Sewing My Wedding Dress
Sewing my wedding dress was one of the most rewarding sewing projects I’ve ever taken on. I spent months researching fabrics, testing construction techniques, and learning new skills along the way.
If you're thinking about sewing your own wedding dress (or any special occasion garment), here are a few things I learned during the process.
And if you want the exact fabrics and supplies used in the dress, you can check out my Wedding Dress Materials List, where I share everything, including how I chose certain materials over others, and suggestions on different places to buy from.
Try On Dresses For Inspiration
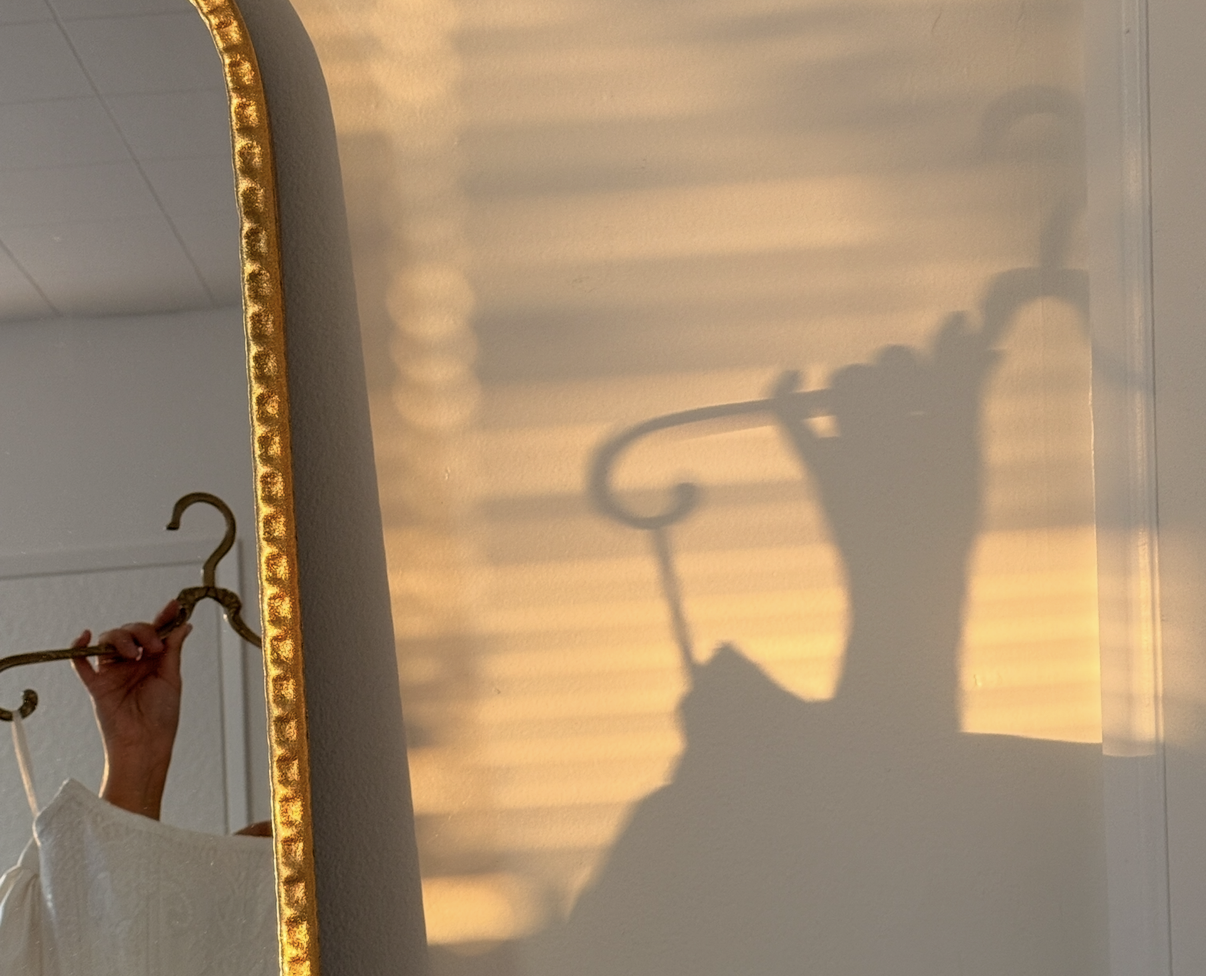
If you’re planning to sew your wedding dress, I highly recommend trying on dresses in person first.
Even if you already plan to make your own dress, visiting bridal boutiques can be incredibly helpful.
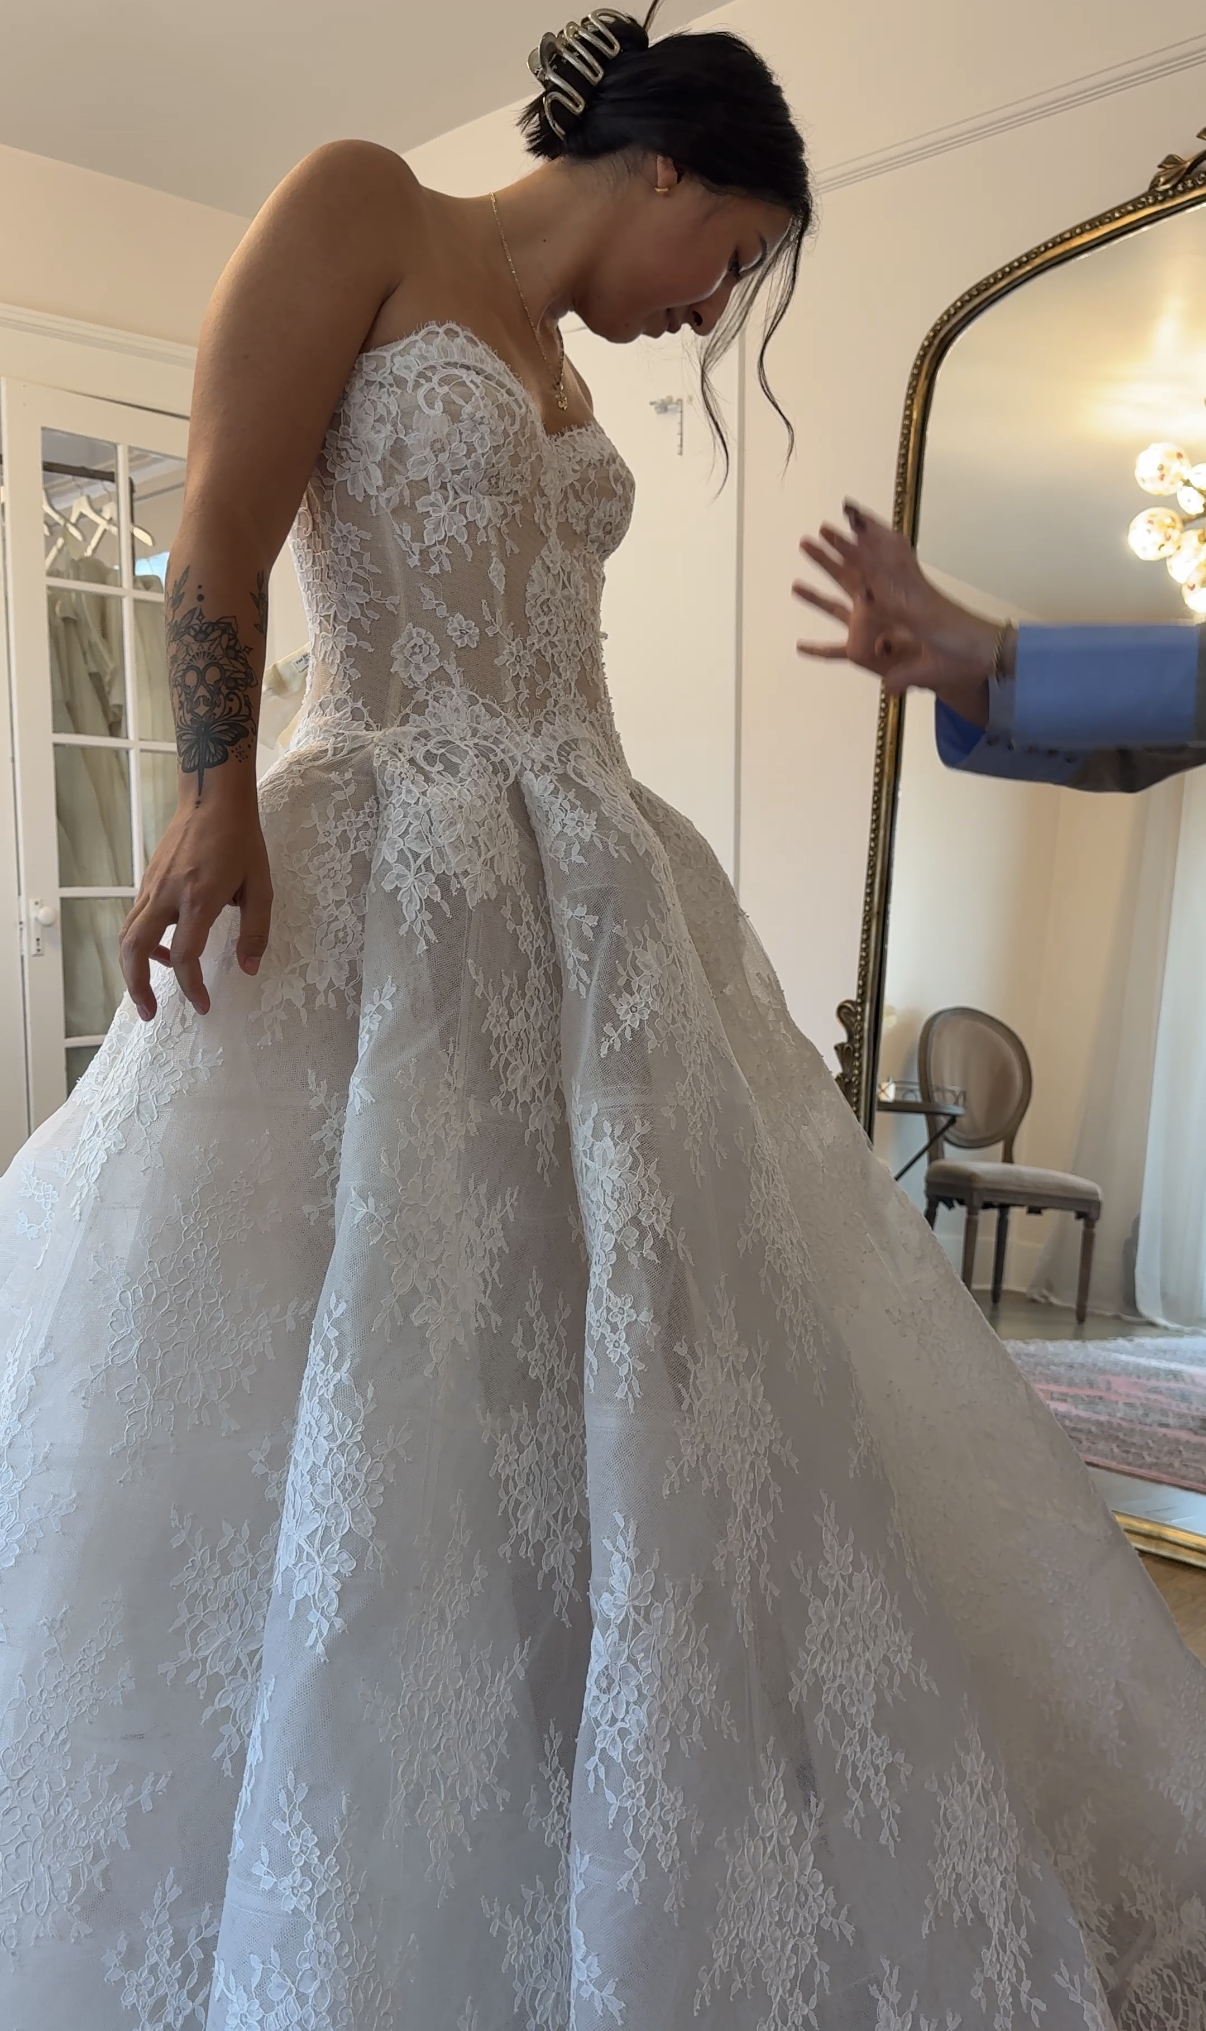
Trying on dresses allows you to:
See how different fabrics behave
Understand construction techniques
Discover silhouettes that feel right for your body
Notice small design details you might not otherwise consider
Most bridal appointments cost between $50 and $100, but in my opinion it’s completely worth it.
My favorite dress shops during this process were Jaxon James in Los Angeles and Dress Theory in San Diego.
Fabric Choice Matters More Than You Think
One of the biggest decisions I made was choosing what type of silk to use. My top choices were silk taffeta, silk crepe back satin, and silk duchess. Silk taffeta is extremely structured and crisp, while crepe back satin and duchess have a much softer drape. They also have a noticeably different textures. The crepe back satin and duchess have more sheen and probably lean more traditionally bridal than taffeta does. I highly recommend purchasing fabric samples so you can see a direct comparison; or better yet, shop in person at a place like Mood Fabrics.
Originally I was convinced that taffeta was the fabric I wanted because I loved the structure and volume it created in one of the dresses I tried on. I also knew that it would be objectively easier to work with than a drapier silk.
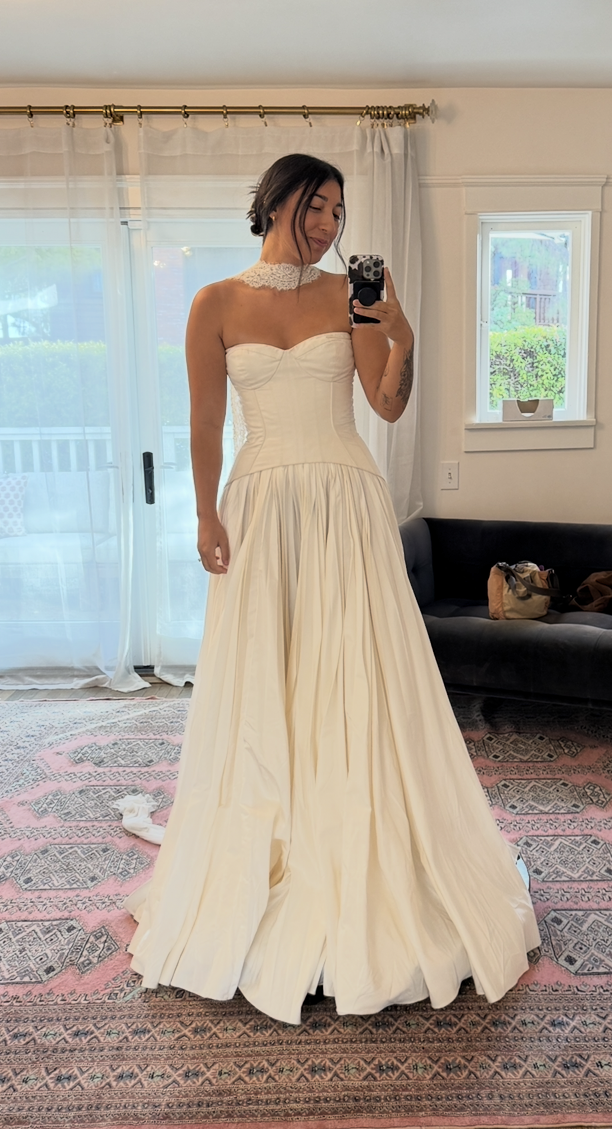
This was the silk taffeta skirt that I loved!
That said, there was a very specific photo on Pinterest that I couldn’t get out of my head, so I ultimately chose a heavy crepe back satin and I really love its movement and drape. You can check out my full materials list for links and tips.
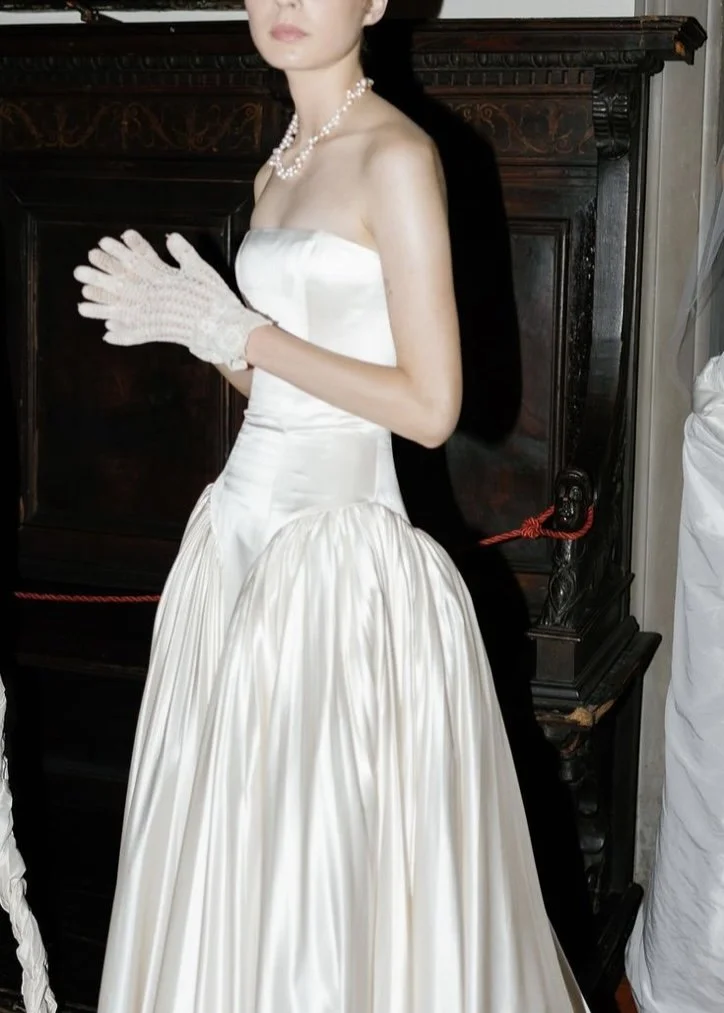
The Pinterest photo living rent free in my head.
Fabric choice dramatically impacts the final feel of a garment, so spending time comparing options was incredibly valuable.
Couture Techniques Aren’t Always The Best Choice
First of all, there are SO many ways to construct a corset and it can honestly be a bit overwhelming. I made tons of samples, tried different techniques, and regrettably went with a technique on my final garment that I hadn’t tried on a sample.
Why on earth would I do this you may ask? Well because the technique was more “couture” of course 🙃 Unfortunately couture doesn’t always mean better, or perhaps it was user error, but either way I wish I could go back in time.
I learned during my research phase that there’s a fabric called double sided fusible interfacing, which is used to bond two fabrics together so they act as one. I tested it on a sample to fuse the silk to the coutil and I loved the result.
On my final dress, I chose to use a couture technique called flat lining, where instead of fusing the fabrics together, you baste them together. I figured that this would be better than fusing because it would be less layers, and therefore more breathable.
Everything looked fine during the construction process, but once I put the corset on, I noticed some ripples that were caused by the two fabrics behaving differently. It’s not the end of the world, but the double sided fusible interfacing would have fixed this issue.
🥲🥲
Sometimes the most traditional or couture techniques aren’t the most practical. Oh well! We live and we learn.
Hand Sewing Takes Time (But It’s SO Worth It)
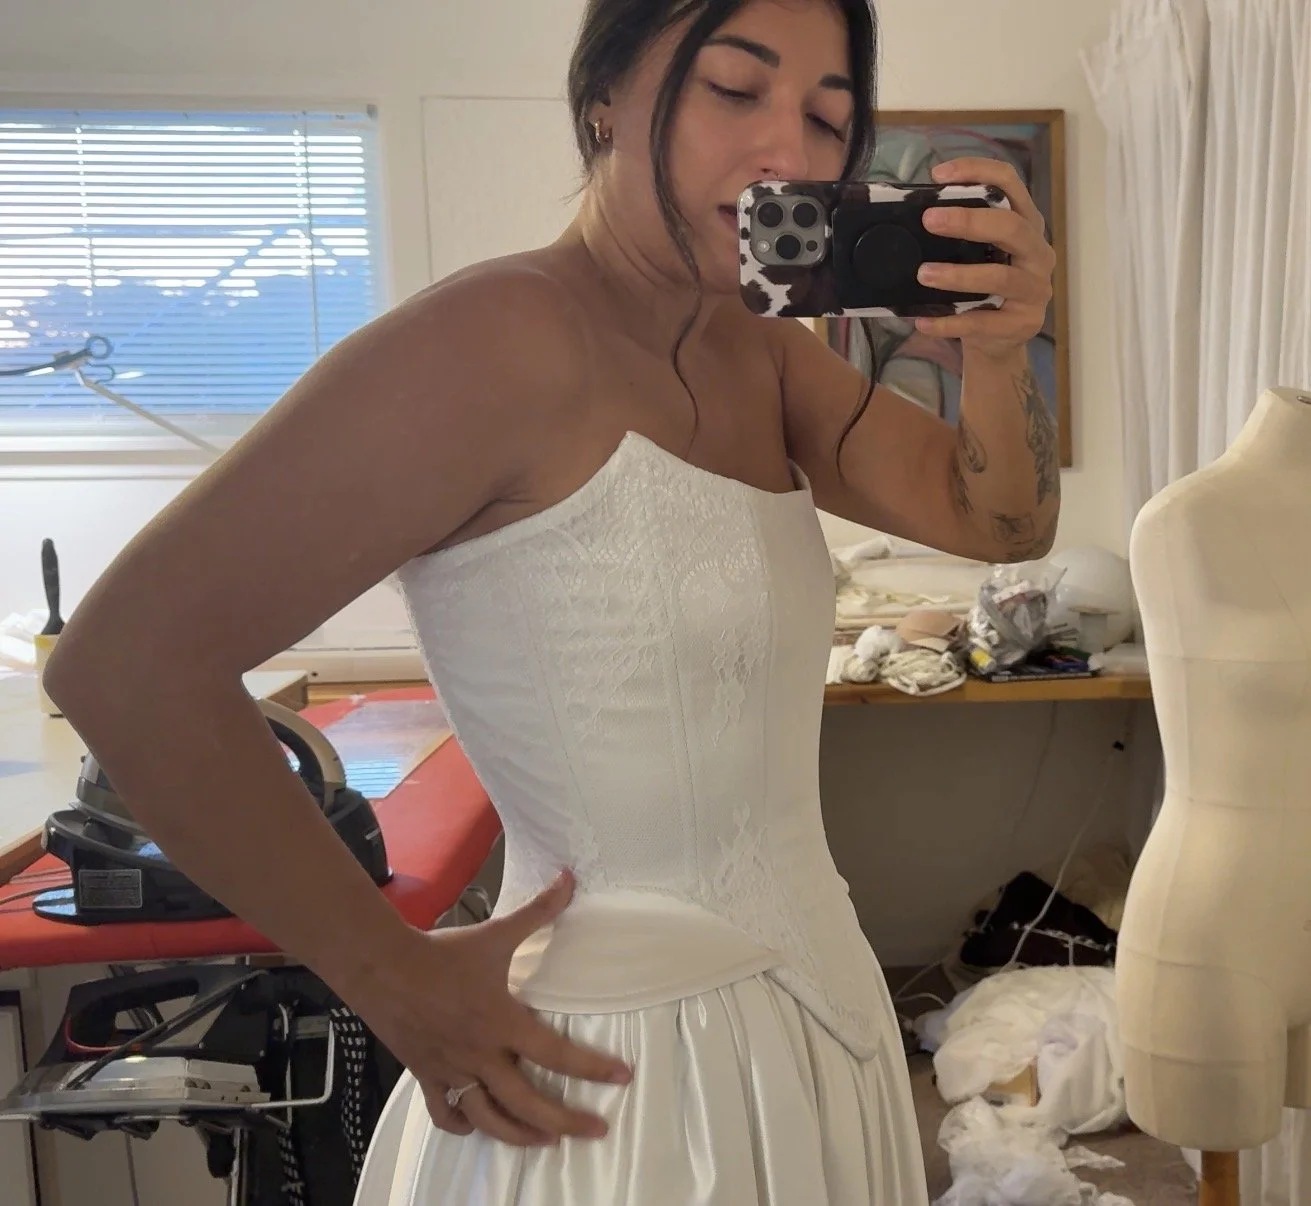
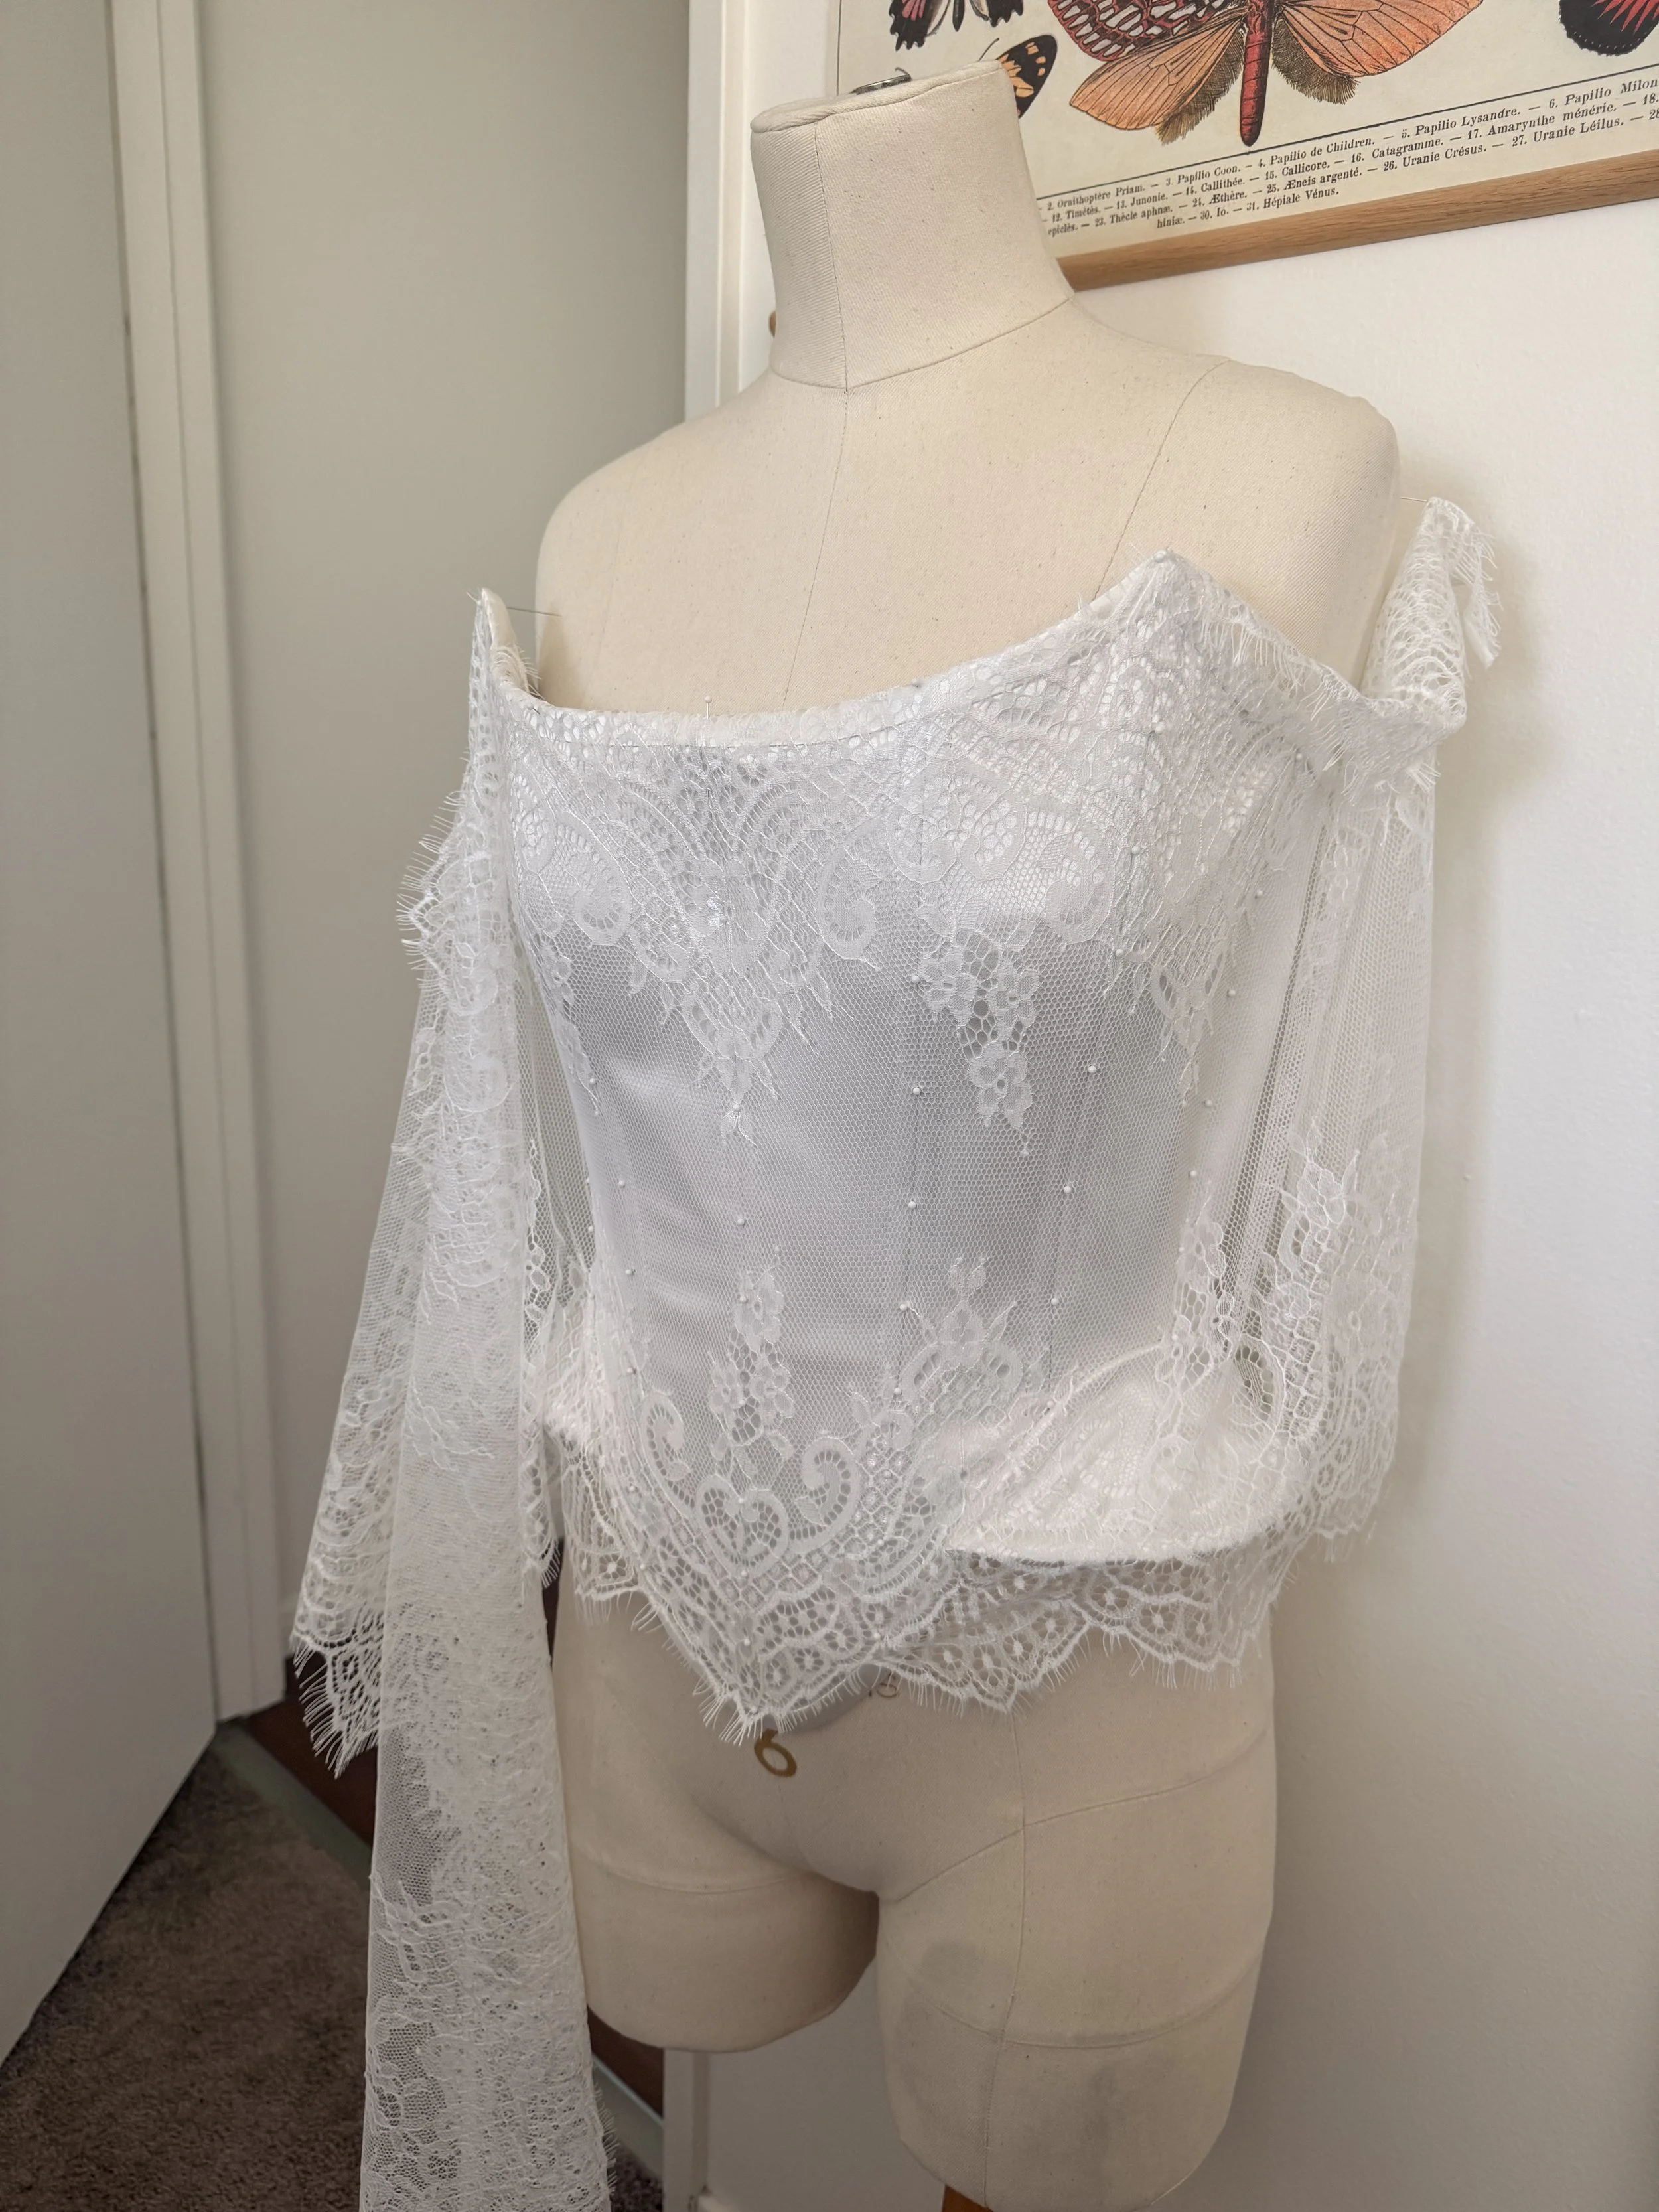
The lace on my dress bodice was completely hand sewn. The process probably took around 5 full days of hand sewing, but the end result added an incredible level of detail and texture that I absolutely loved. Even my mom was like, wait how did you get the lace pattern to stay whole like that? Aren’t there seams there?
If I wanted the process to be faster (like literally shave off an entire week of hand sewing lol), I could have cut the lace in the shape of the pattern pieces and sewn them together like normal. This would have created seam lines in the lace that would have broken up the lace pattern. For me, taking the extra time and effort to hand sew the lace on exactly how I wanted was totally worth it.
Research And Sampling Are Everything
Before committing to my final materials and construction methods, I spent a lot of time testing different techniques. And by a lot of time, I mean literal months haha
You can check out My Wedding Dress Construction Guide to see exactly how I constructed the dress.
That process helped me:
Understand fabric behavior
Solve construction challenges early on
Feel confident about my final decisions (except for that dang flat lining lol)

If you’re sewing something as meaningful as a wedding dress, sampling and experimentation are incredibly valuable. That said, I will caution you that there were times I felt like I’d over done it.
There’s an endless amount of information, inspiration, blog posts, youtube videos, and surely lots of other resources. It can get really overwhelming, and for me, it left me with this weird sense of… I love my dress, but what if I did this? or this? or this?
I’ve been pinning wedding inspiration to a Pinterest board called “Someday” for as long as I can remember. Well, someday is here and you only get to choose one dress. That was a weird reality that I’d never thought about until the dress was finished.
Final Thoughts
Sewing my own wedding dress was a huge project. I spent months on end doing research, and also took about double the time to sew than I originally allotted. I made this free guide for you with tips and materials so you can save yourself lots of research time.
Whether you're sewing a wedding dress or simply working on a special garment, I hope these lessons help guide you along your own sewing journey ❤️