
My Wedding Dress Construction Guide
A Behind the Scenes Look at How I Built My Wedding Dress
Sewing my own wedding dress was one of the most technically challenging projects I’ve ever taken on. The dress was built from two separate pieces, a corset and a skirt, each with multiple layers and structural components designed to create shape, support, and of course, drama 😍
This guide walks through how the dress was constructed from start to finish.
If you’re curious about the exact fabrics and supplies used in the dress, you can check out my Wedding Dress Materials List, where I share everything from the silk I chose to the structural materials used inside the corset. I also shared why I chose certain materials over others, and suggestions on different places to buy from.
Overview of the Dress Design
The dress consists of 2 separate garments:
A structured corset bodice
A bubble skirt
The corset extends past the natural waist, while the skirt sits at the natural waist.
This layering allowed the corset to create the sculpted silhouette while the skirt added dramatic volume.
Corset features
Spiral steel boning throughout the body
Lace overlay hand sewn onto the bodice
Push-up cups sewn into the lining
Lacing closure using only the eye portion of hook and eye tape
Skirt features
Gathered silk outer skirt
Inner circle skirt structure
Layers of tulle and organza for volume
Two layers of horsehair braid
Free hanging georgette lining
Corset Construction Overview
The corset provides the structural foundation of the entire dress.
It was built using coutil and silk, flat lined together. In hindsight, I would wish I had fused them together, which I talk about in my 5 Lessons I Learned From Sewing My Wedding Dress blog post.
(For the full list of materials used in the corset, see my Materials List resource.)
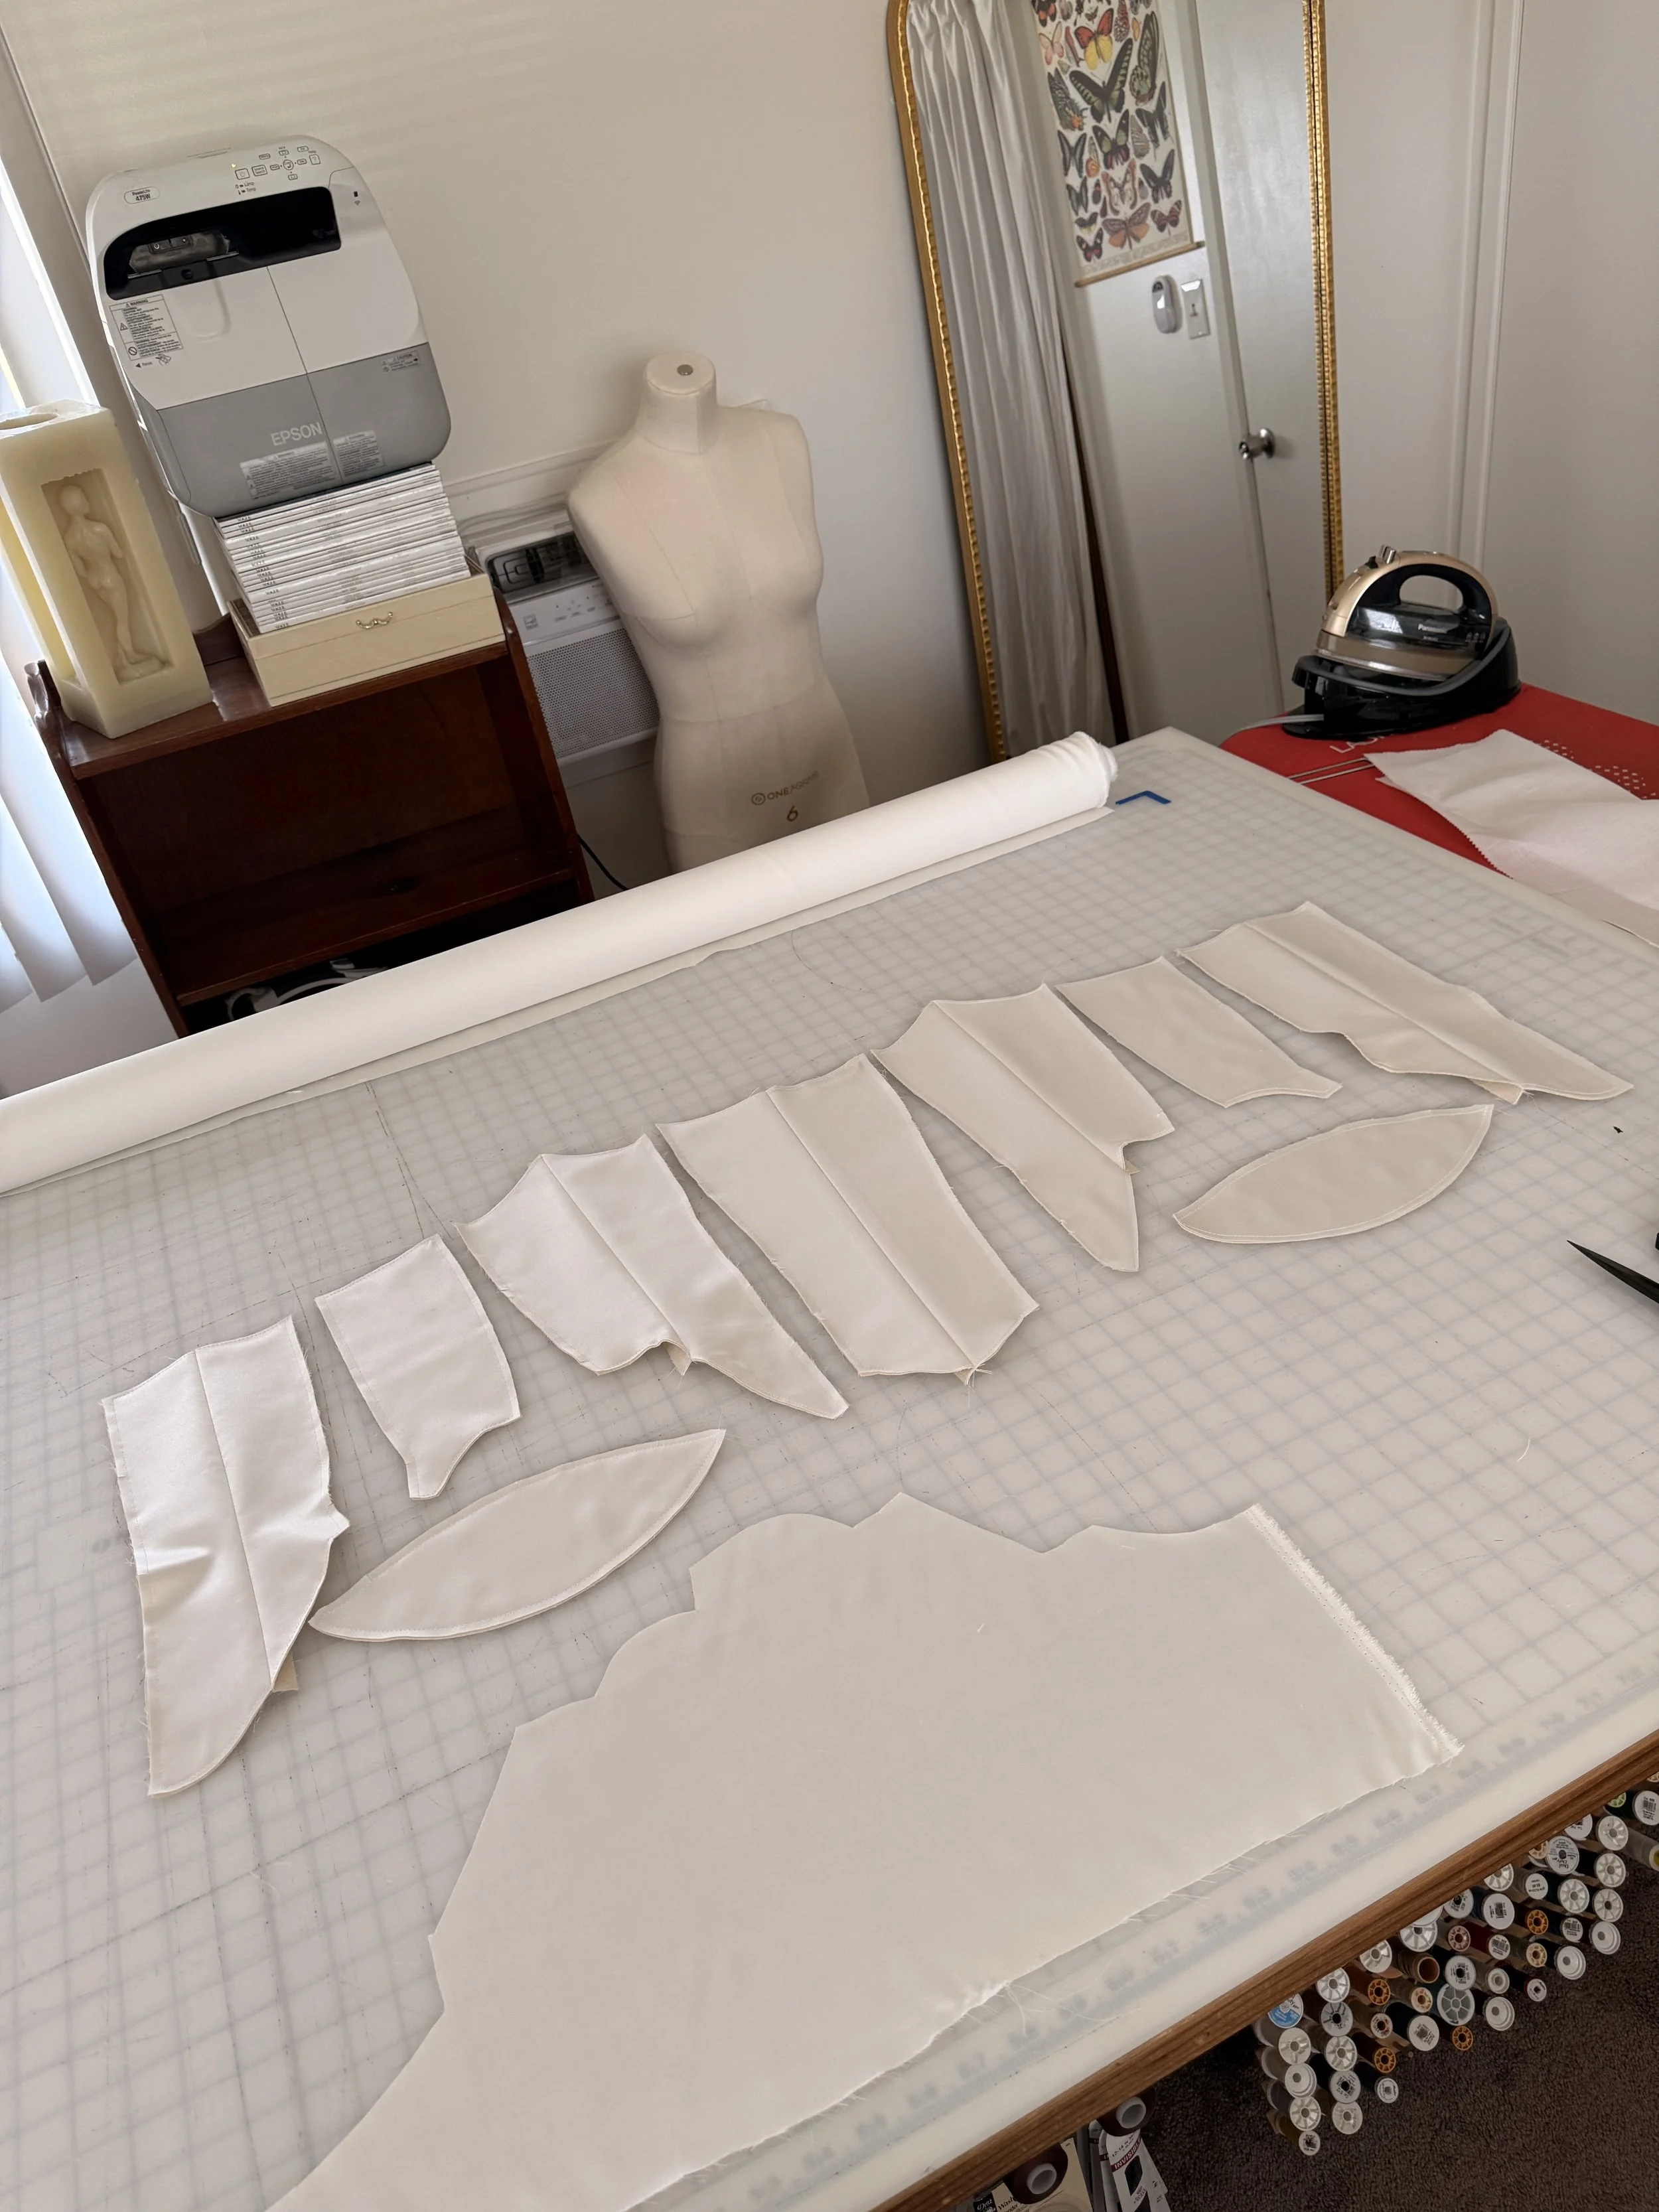
Step 1: Preparing the Corset Panels
The corset panels were constructed by flat lining the silk and coutil together.
The corset body was then sewn using a ½" seam allowance, and all seam allowances were pressed open to reduce bulk.
Step 2: Waist Tape
A waist tape was hand basted into place along the waistline, which helps distribute tension when the corset is laced tightly.
The boning channels were then topstitched over the waist tape, which secured it permanently. Once secured, I removed the basting stitches.
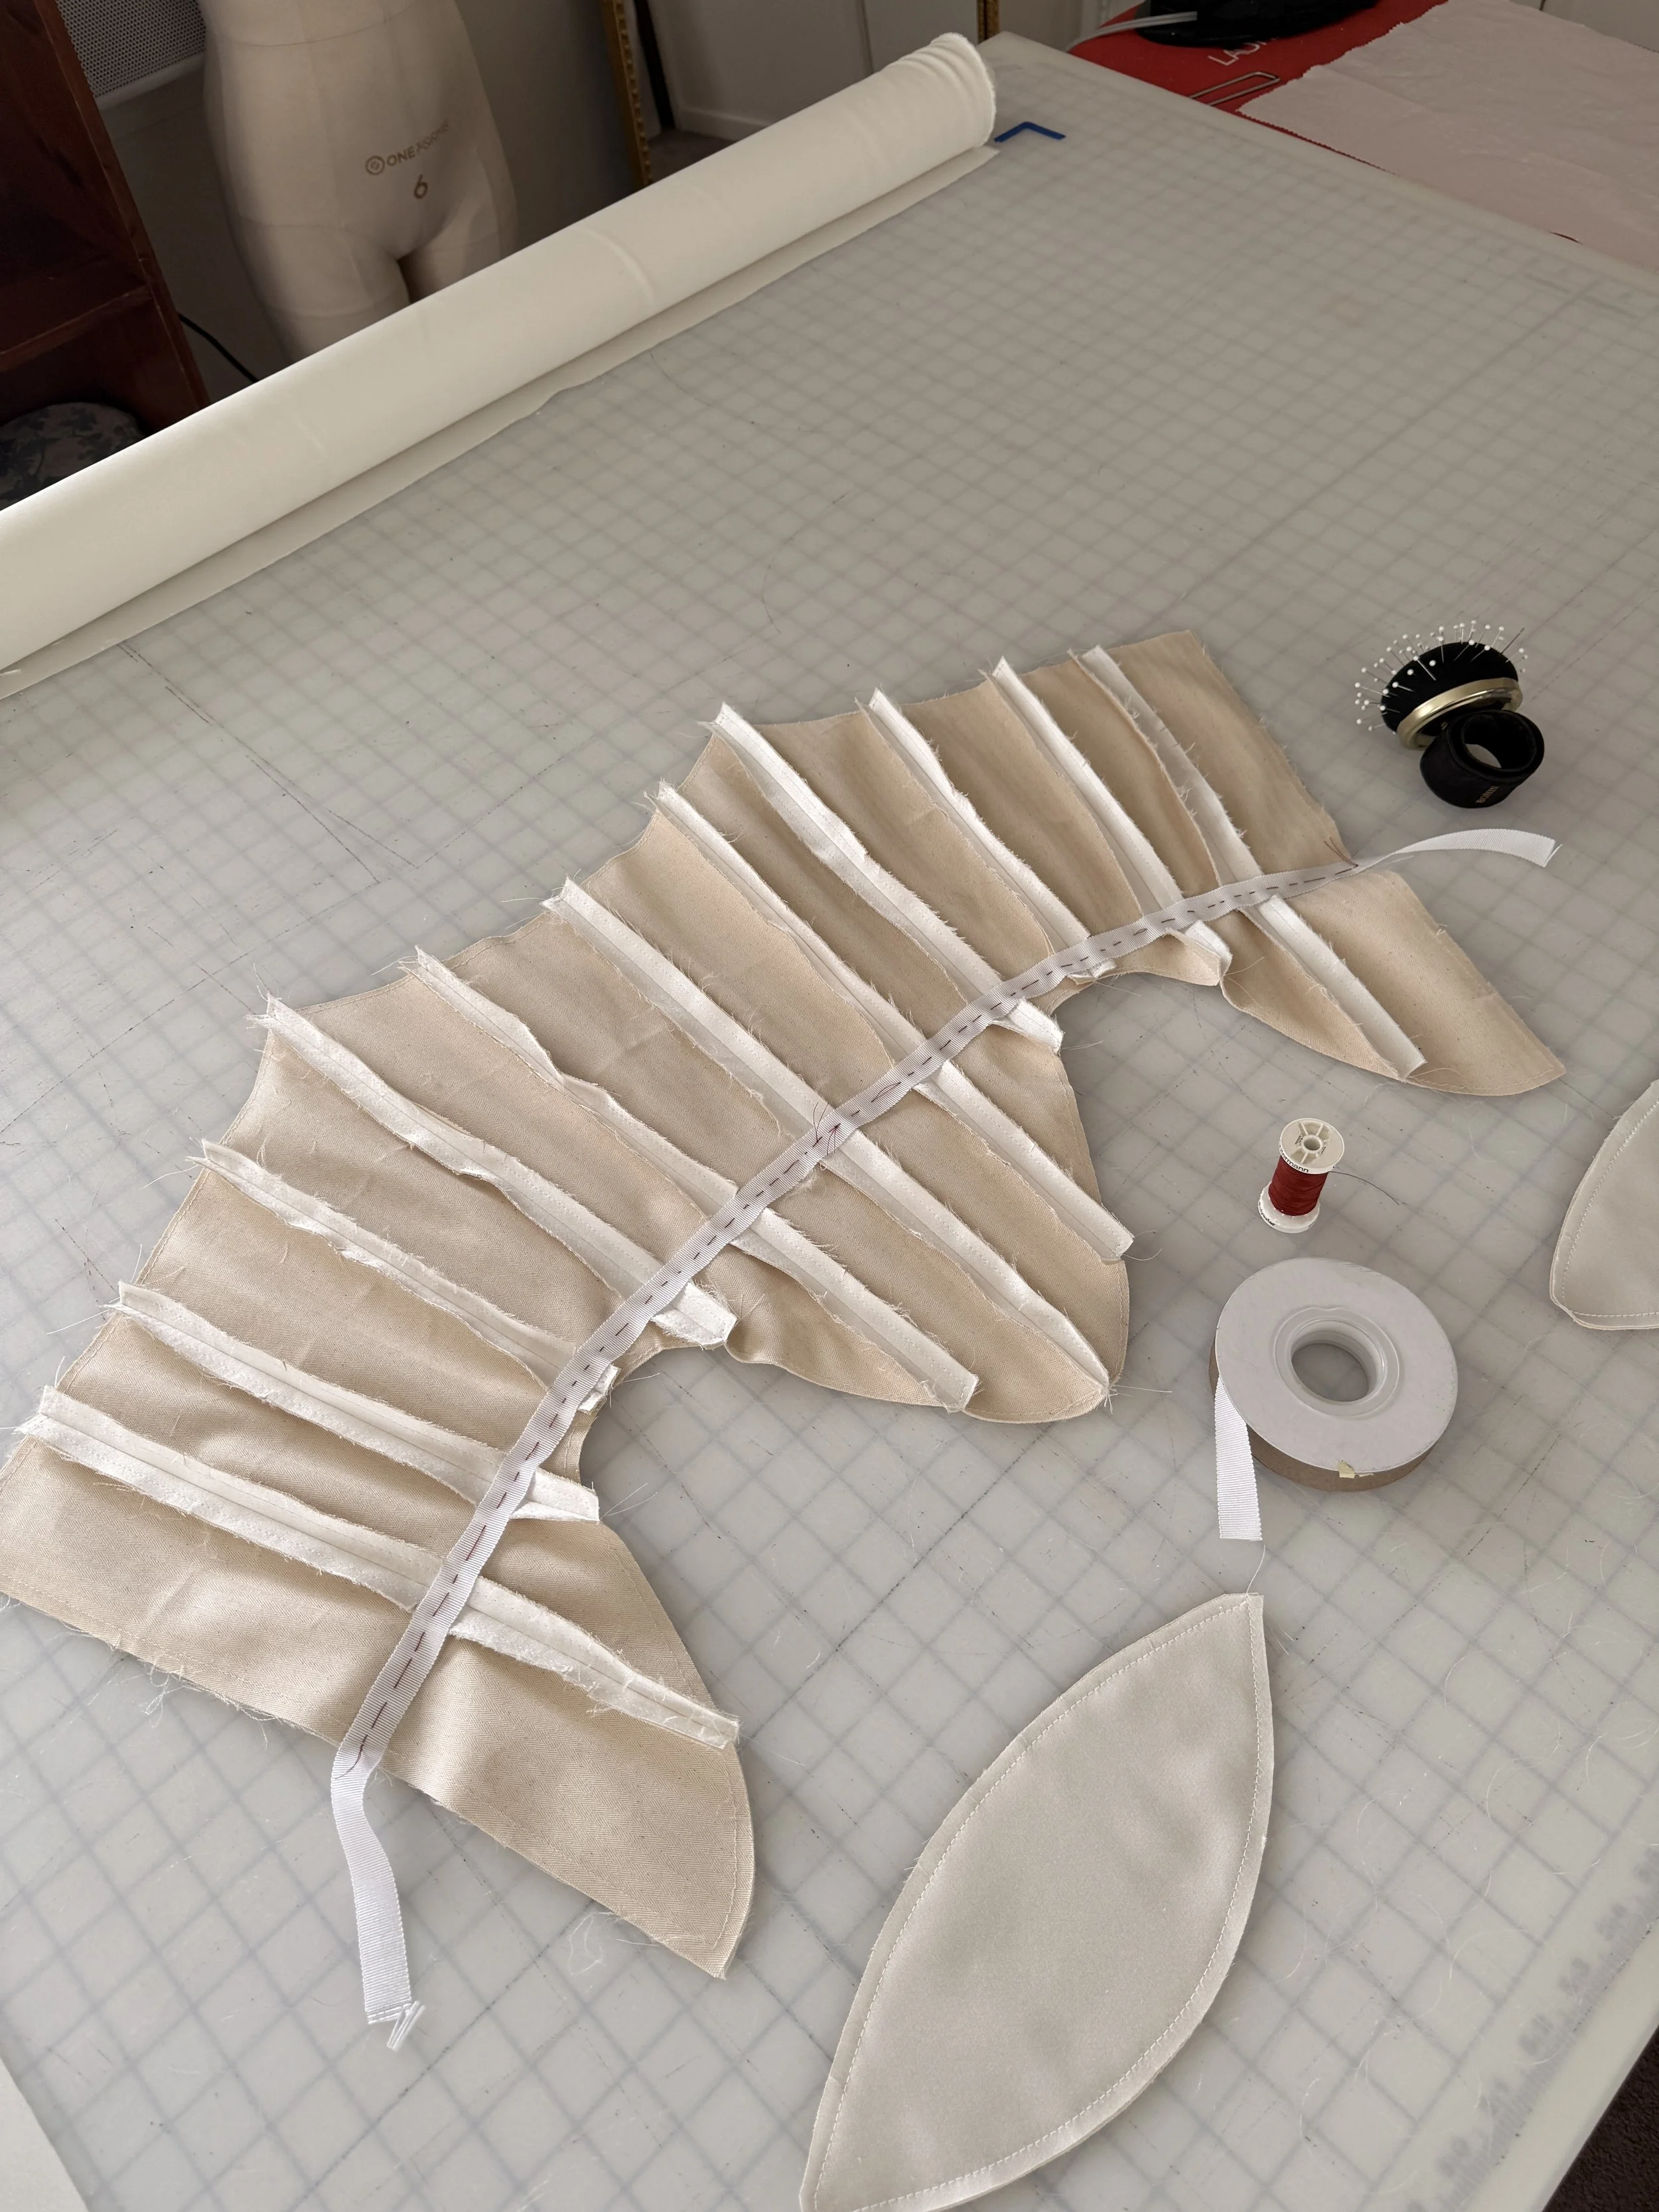
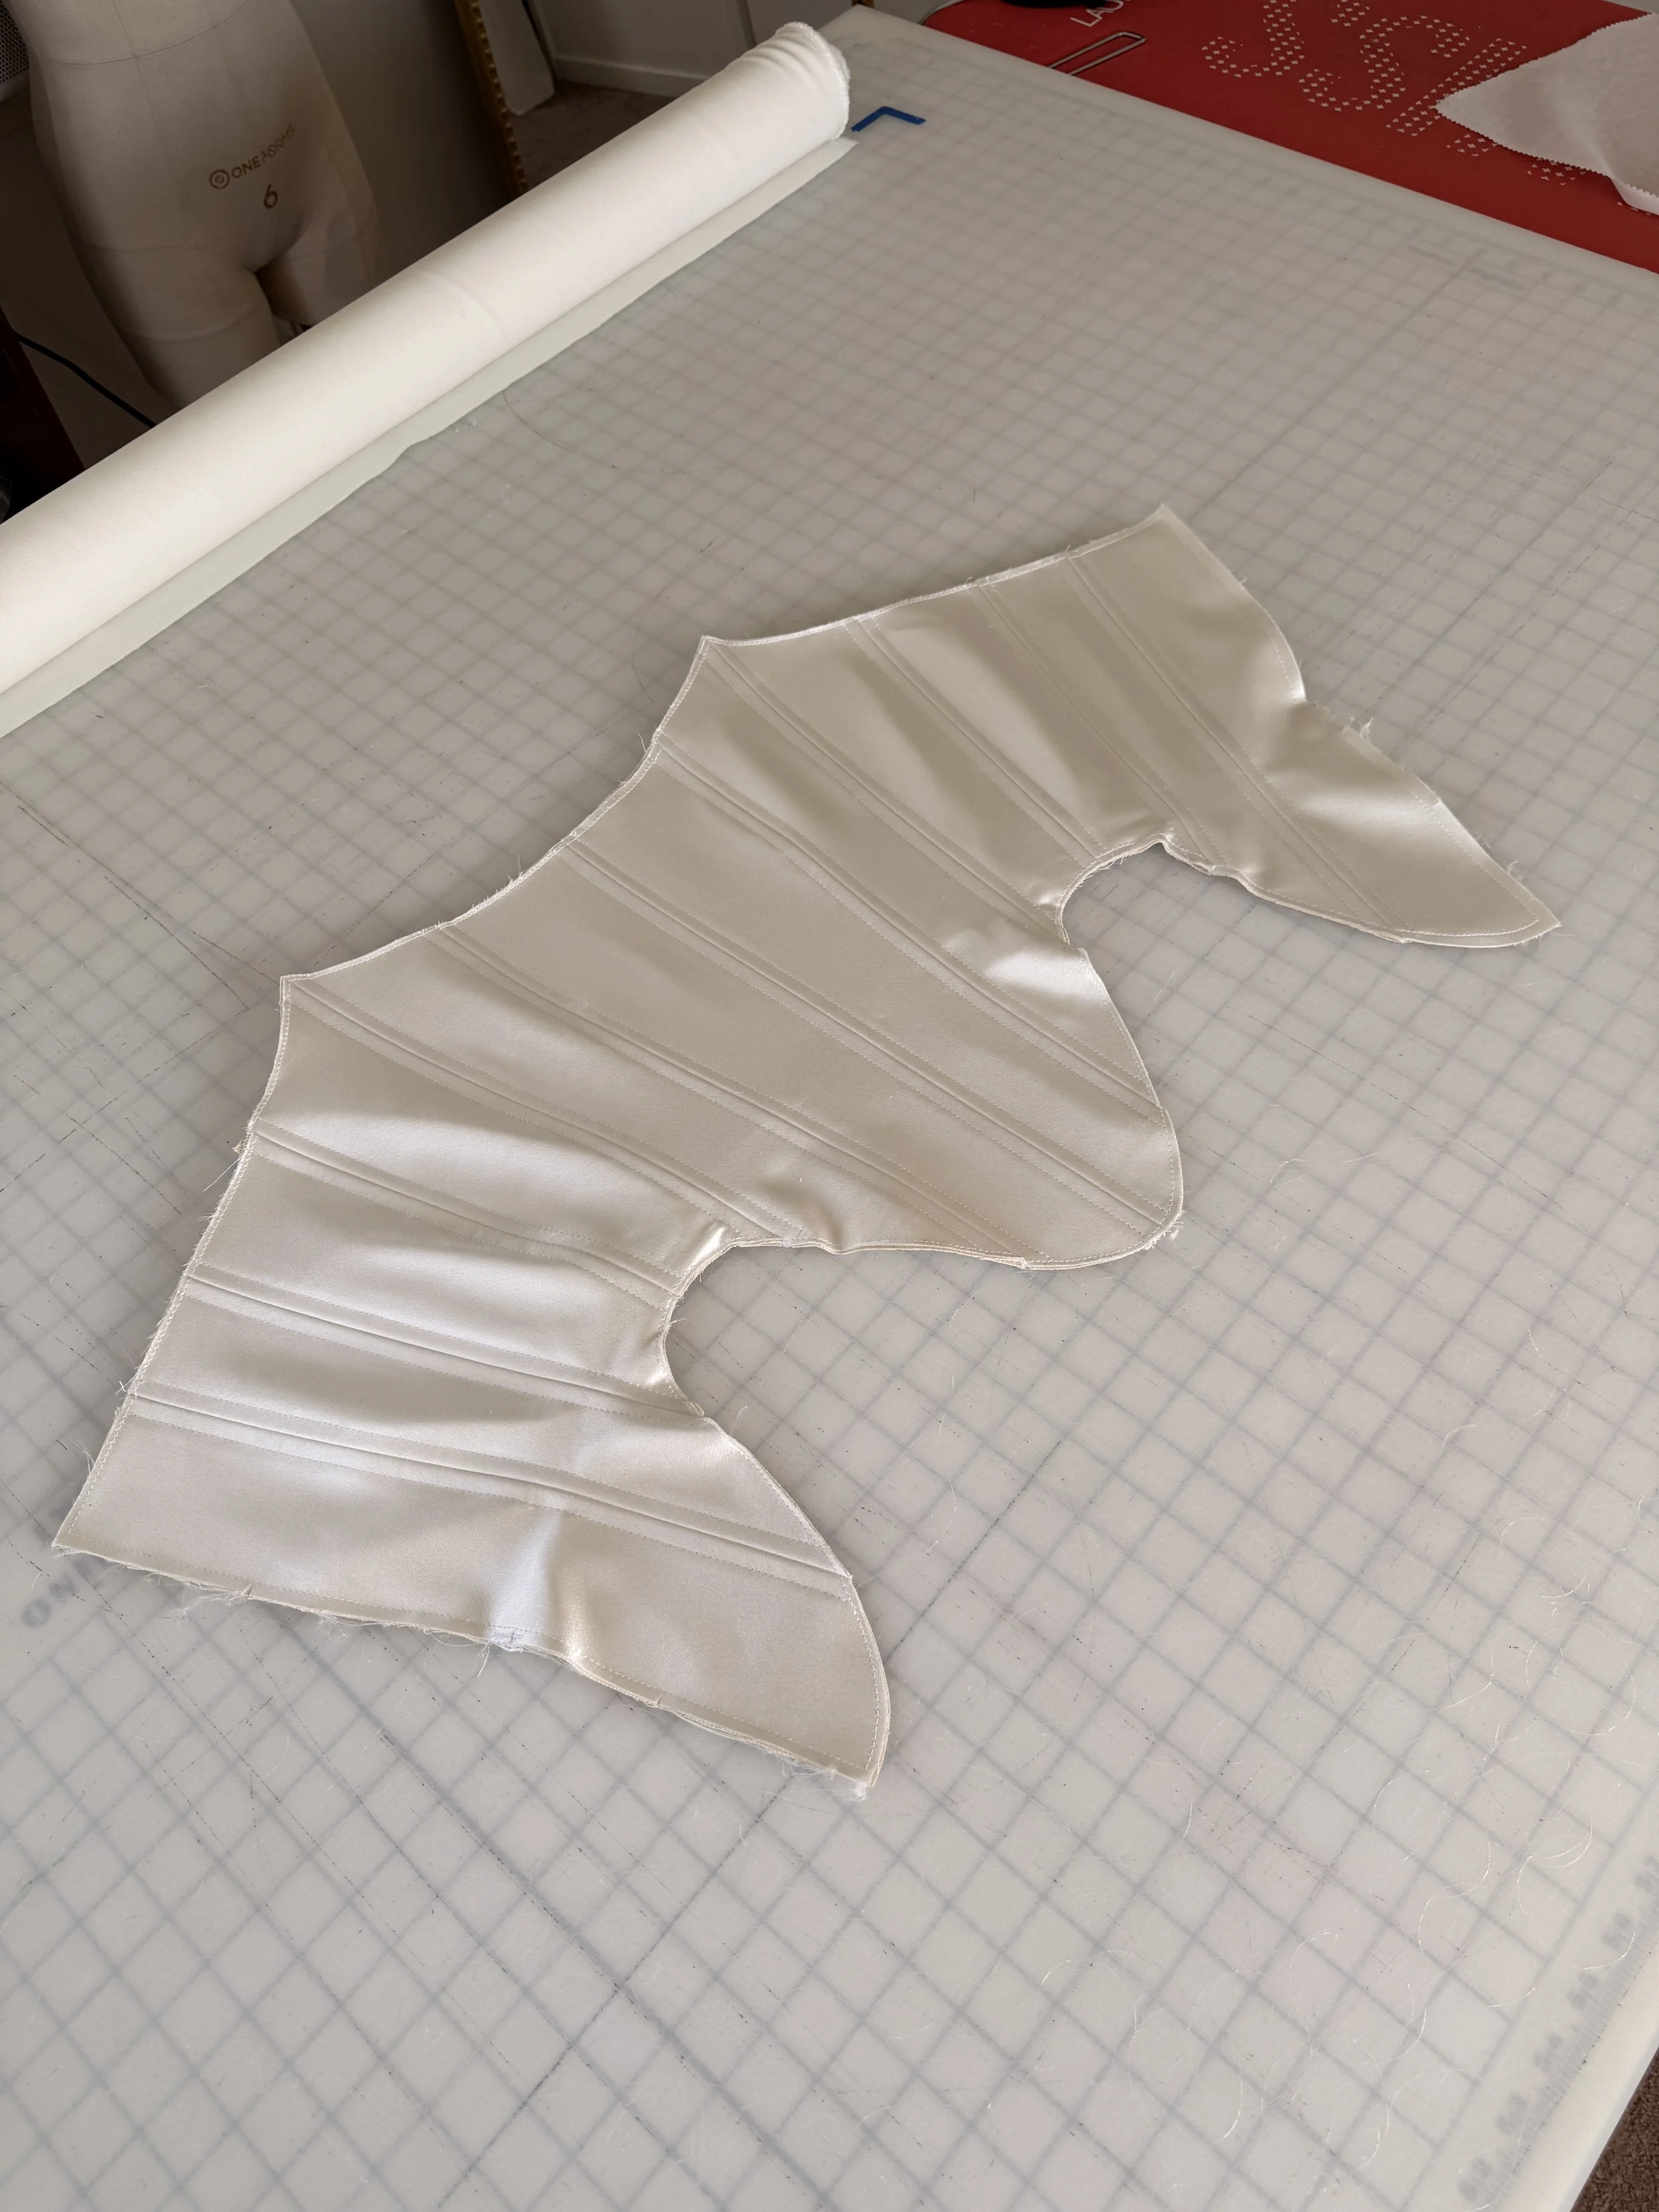
Step 3: Creating the Boning Channels
The corset contains 26 boning channels throughout the main body, plus additional channels in the hip flare pieces.
These channels were created by topstitching through the corset layers.
Spiral steel boning was used throughout the corset because it offers flexibility in multiple directions while still providing strong structural support.
(In my Materials List I share more insight on choosing the right boning, plus the tools I used to cut and cap the steel.)
Step 4: Corset Lining
The corset lining was sewn separately and all seam allowances were pressed open.
The eye tape (hook and eye tape without the hook portion) was then sewn between the corset outer layer and lining.
Once this was complete, the corset was flipped right sides out.
Two additional boning channels were sewn directly next to the eye tape to reinforce the lacing area.
Step 5: Finishing the Top Edge
The top edge of the corset was basted together. Then I created Bbias tape to bind the top edge.
Before binding, small ribbons were sewn into the top edge on the left and right sides to allow the corset to hang when stored (but actually mostly for pictures lol).
Step 6: Inserting the Boning
Spiral steel boning was inserted into every channel once the main structure was complete.
Additional boning was inserted into the hip flare pieces to maintain their shape.
The bottom edge of the corset was then finished with bias binding.

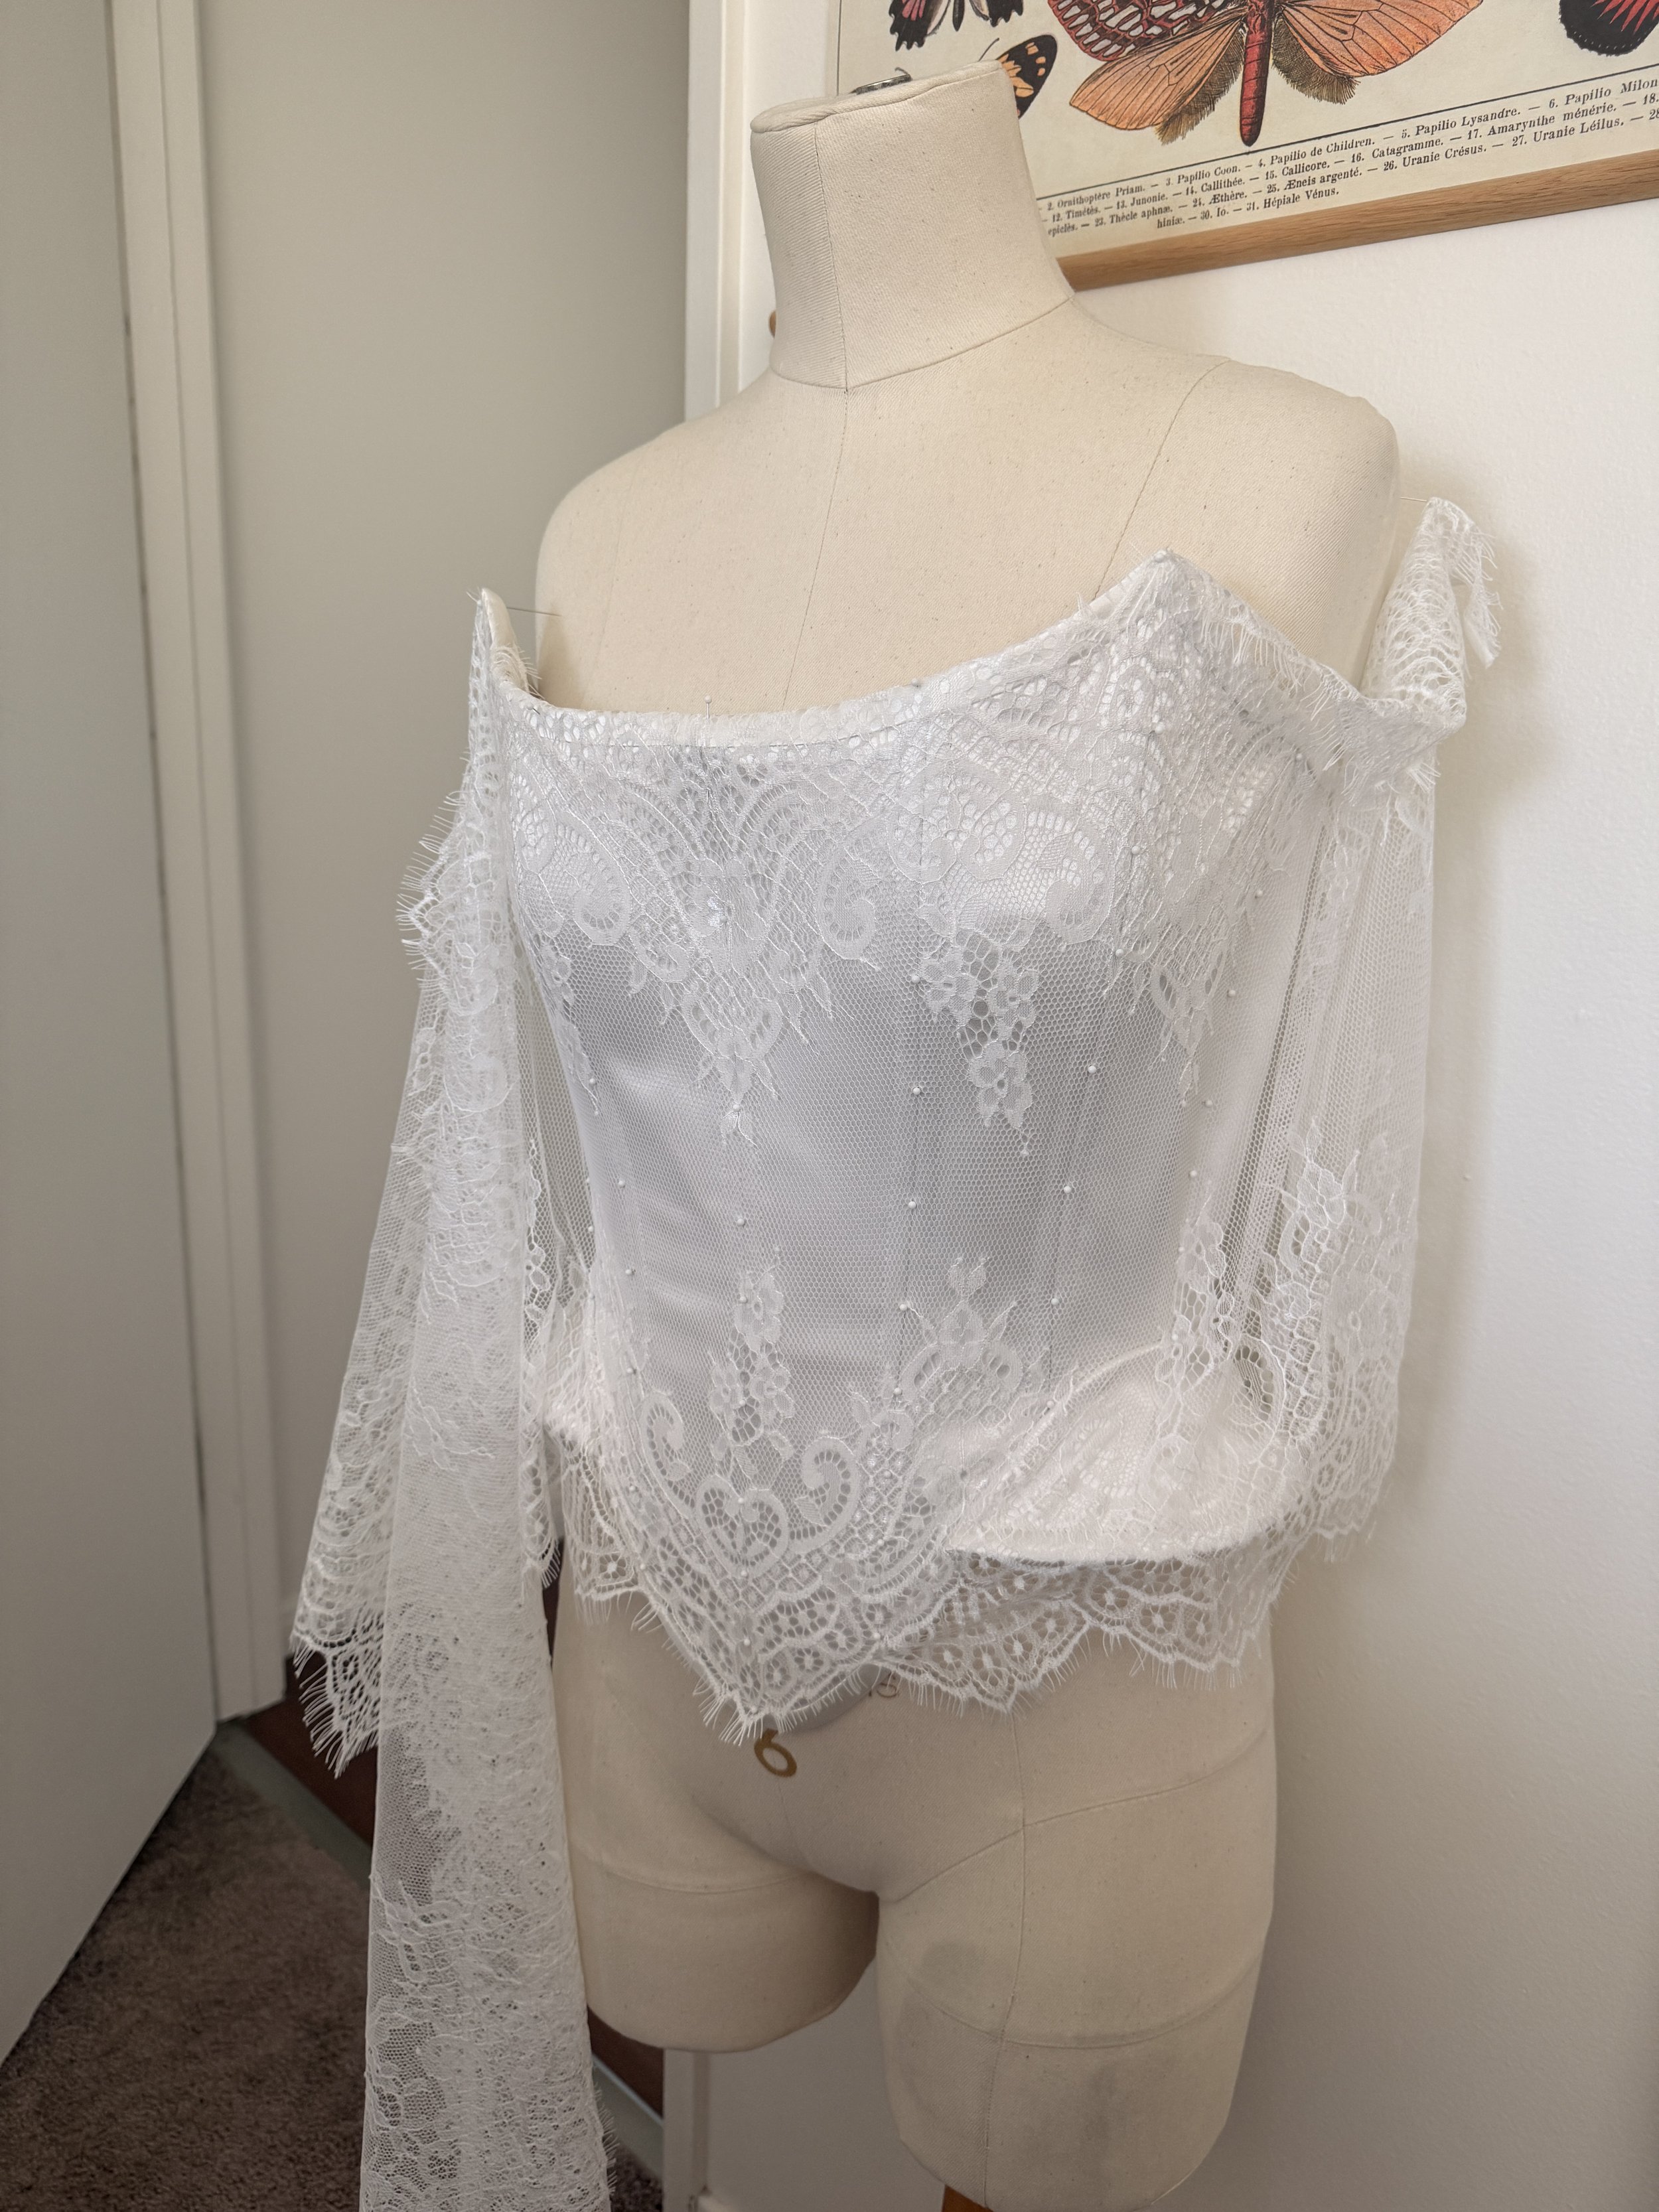
Step 7: Lace Overlay
The lace overlay was completely hand sewn onto the bodice.
This process took about 5 full days but I personally think it was so worth it!
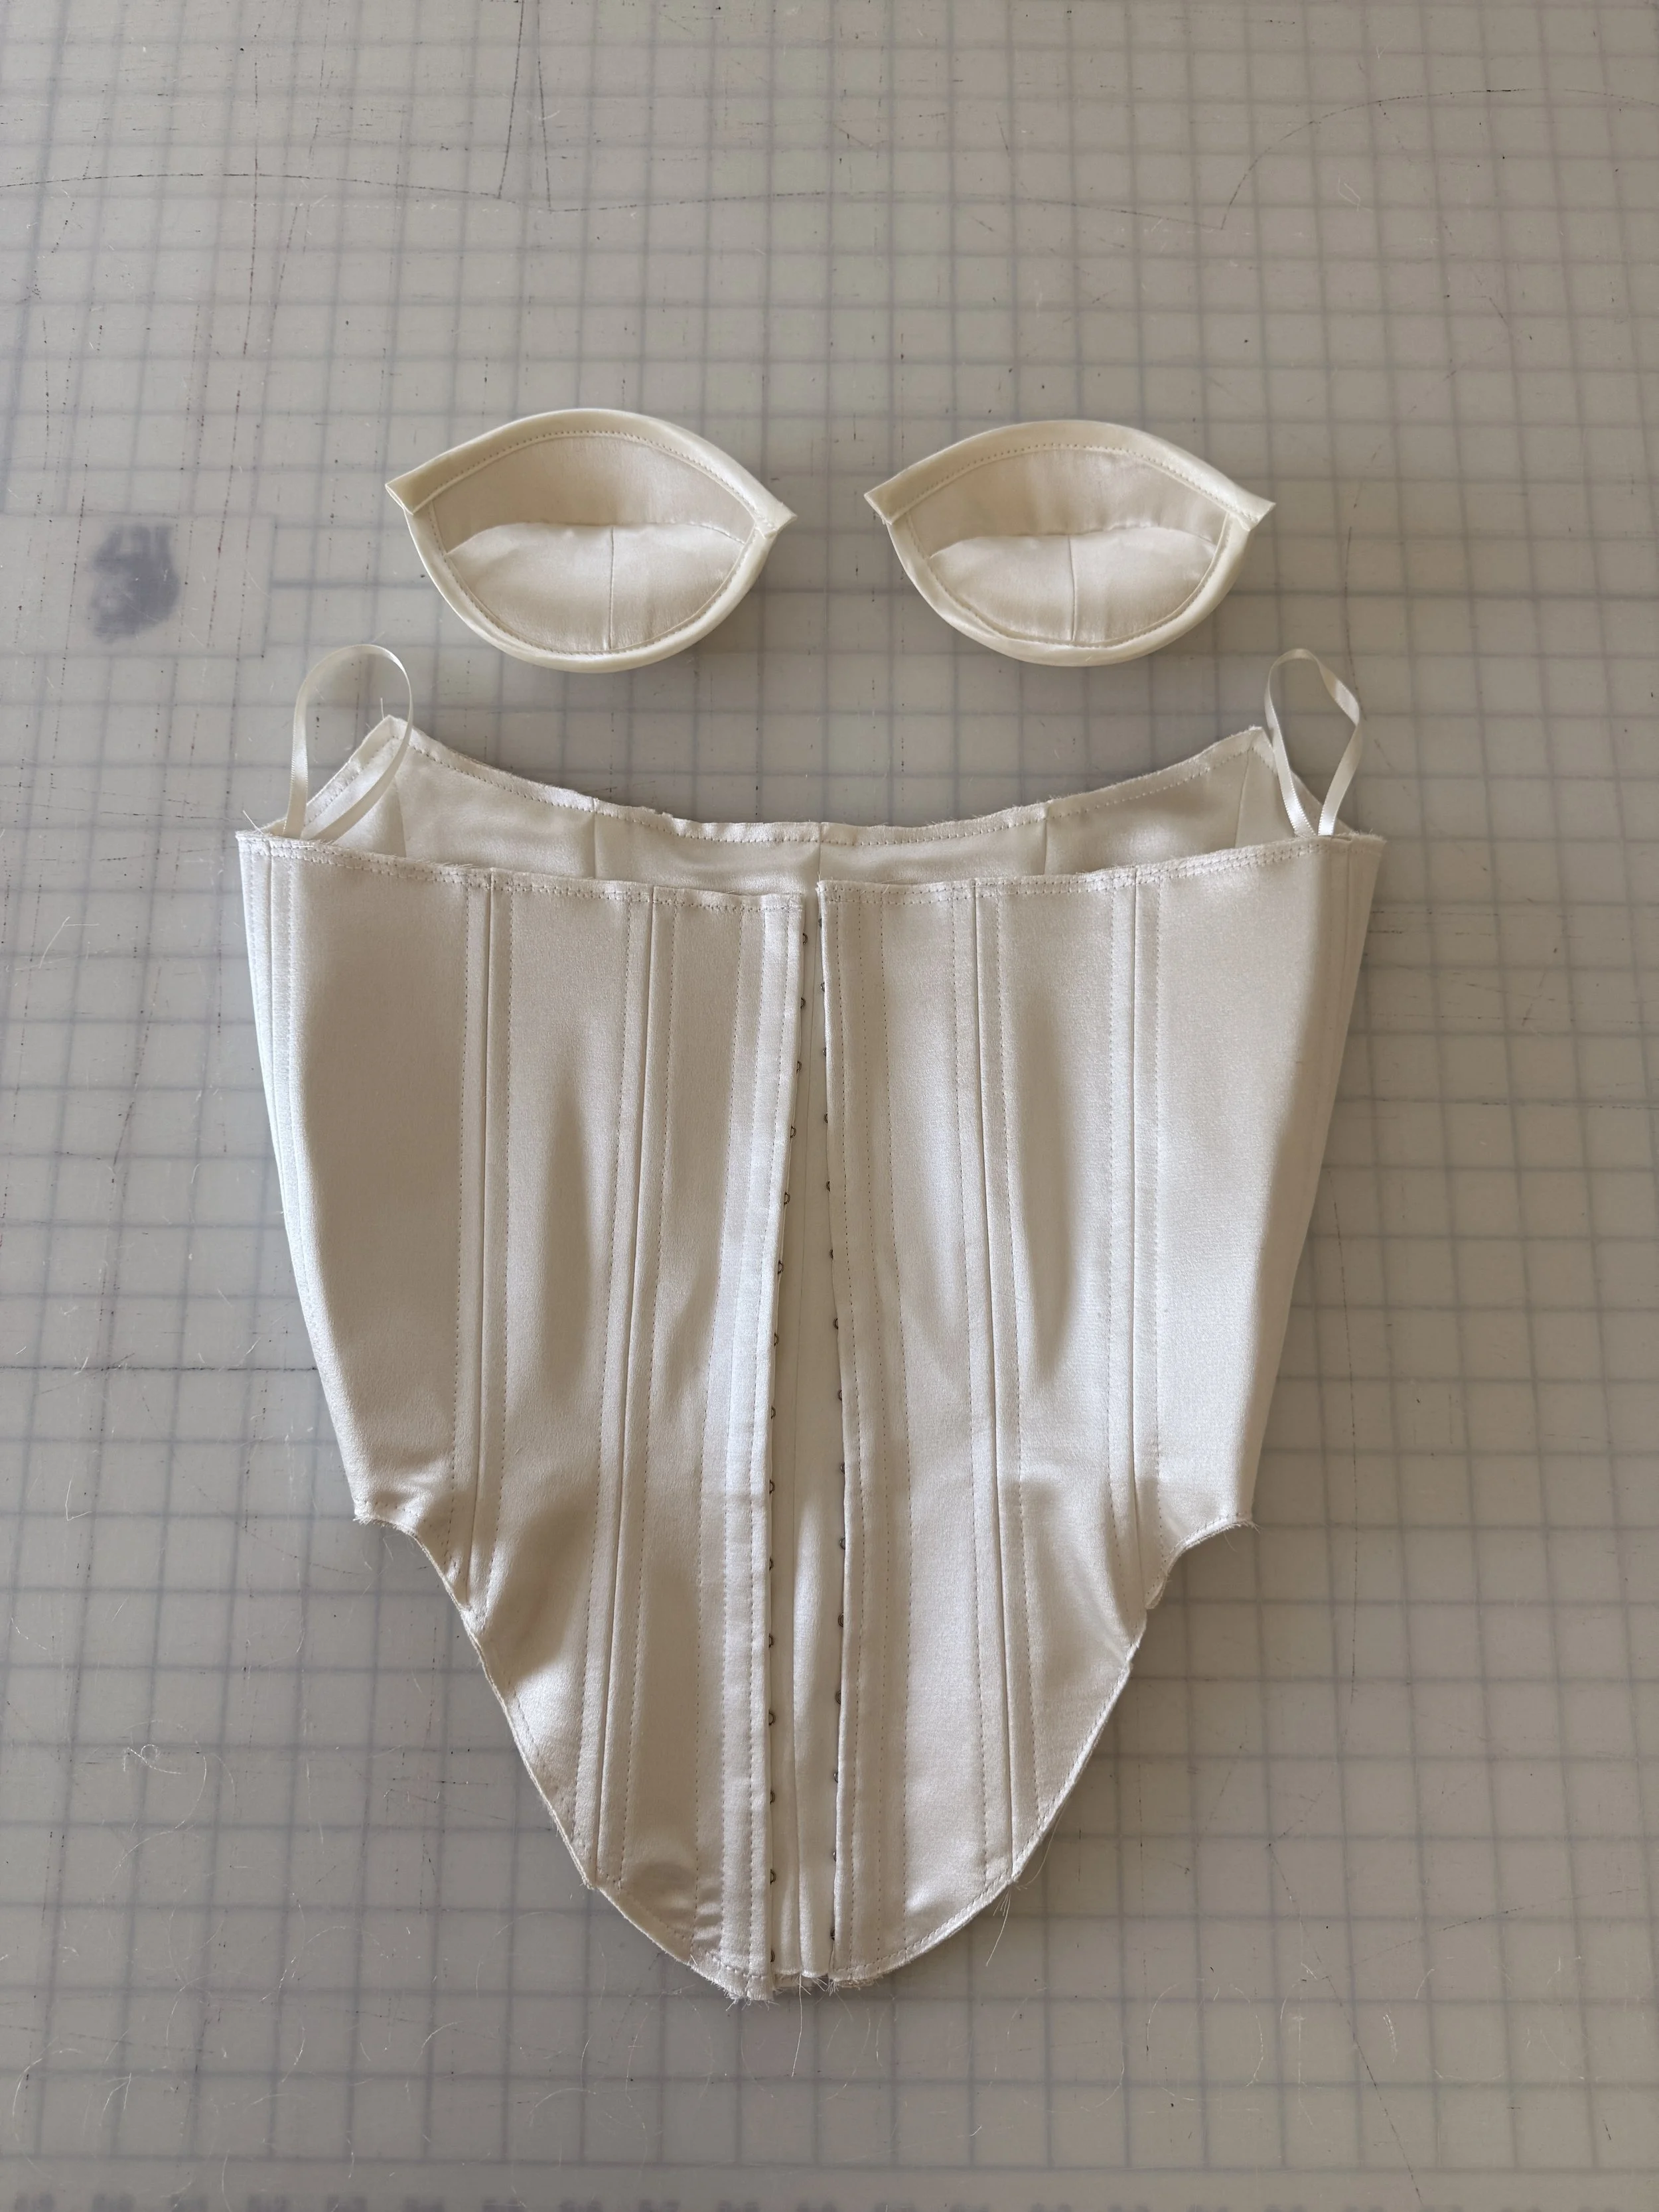
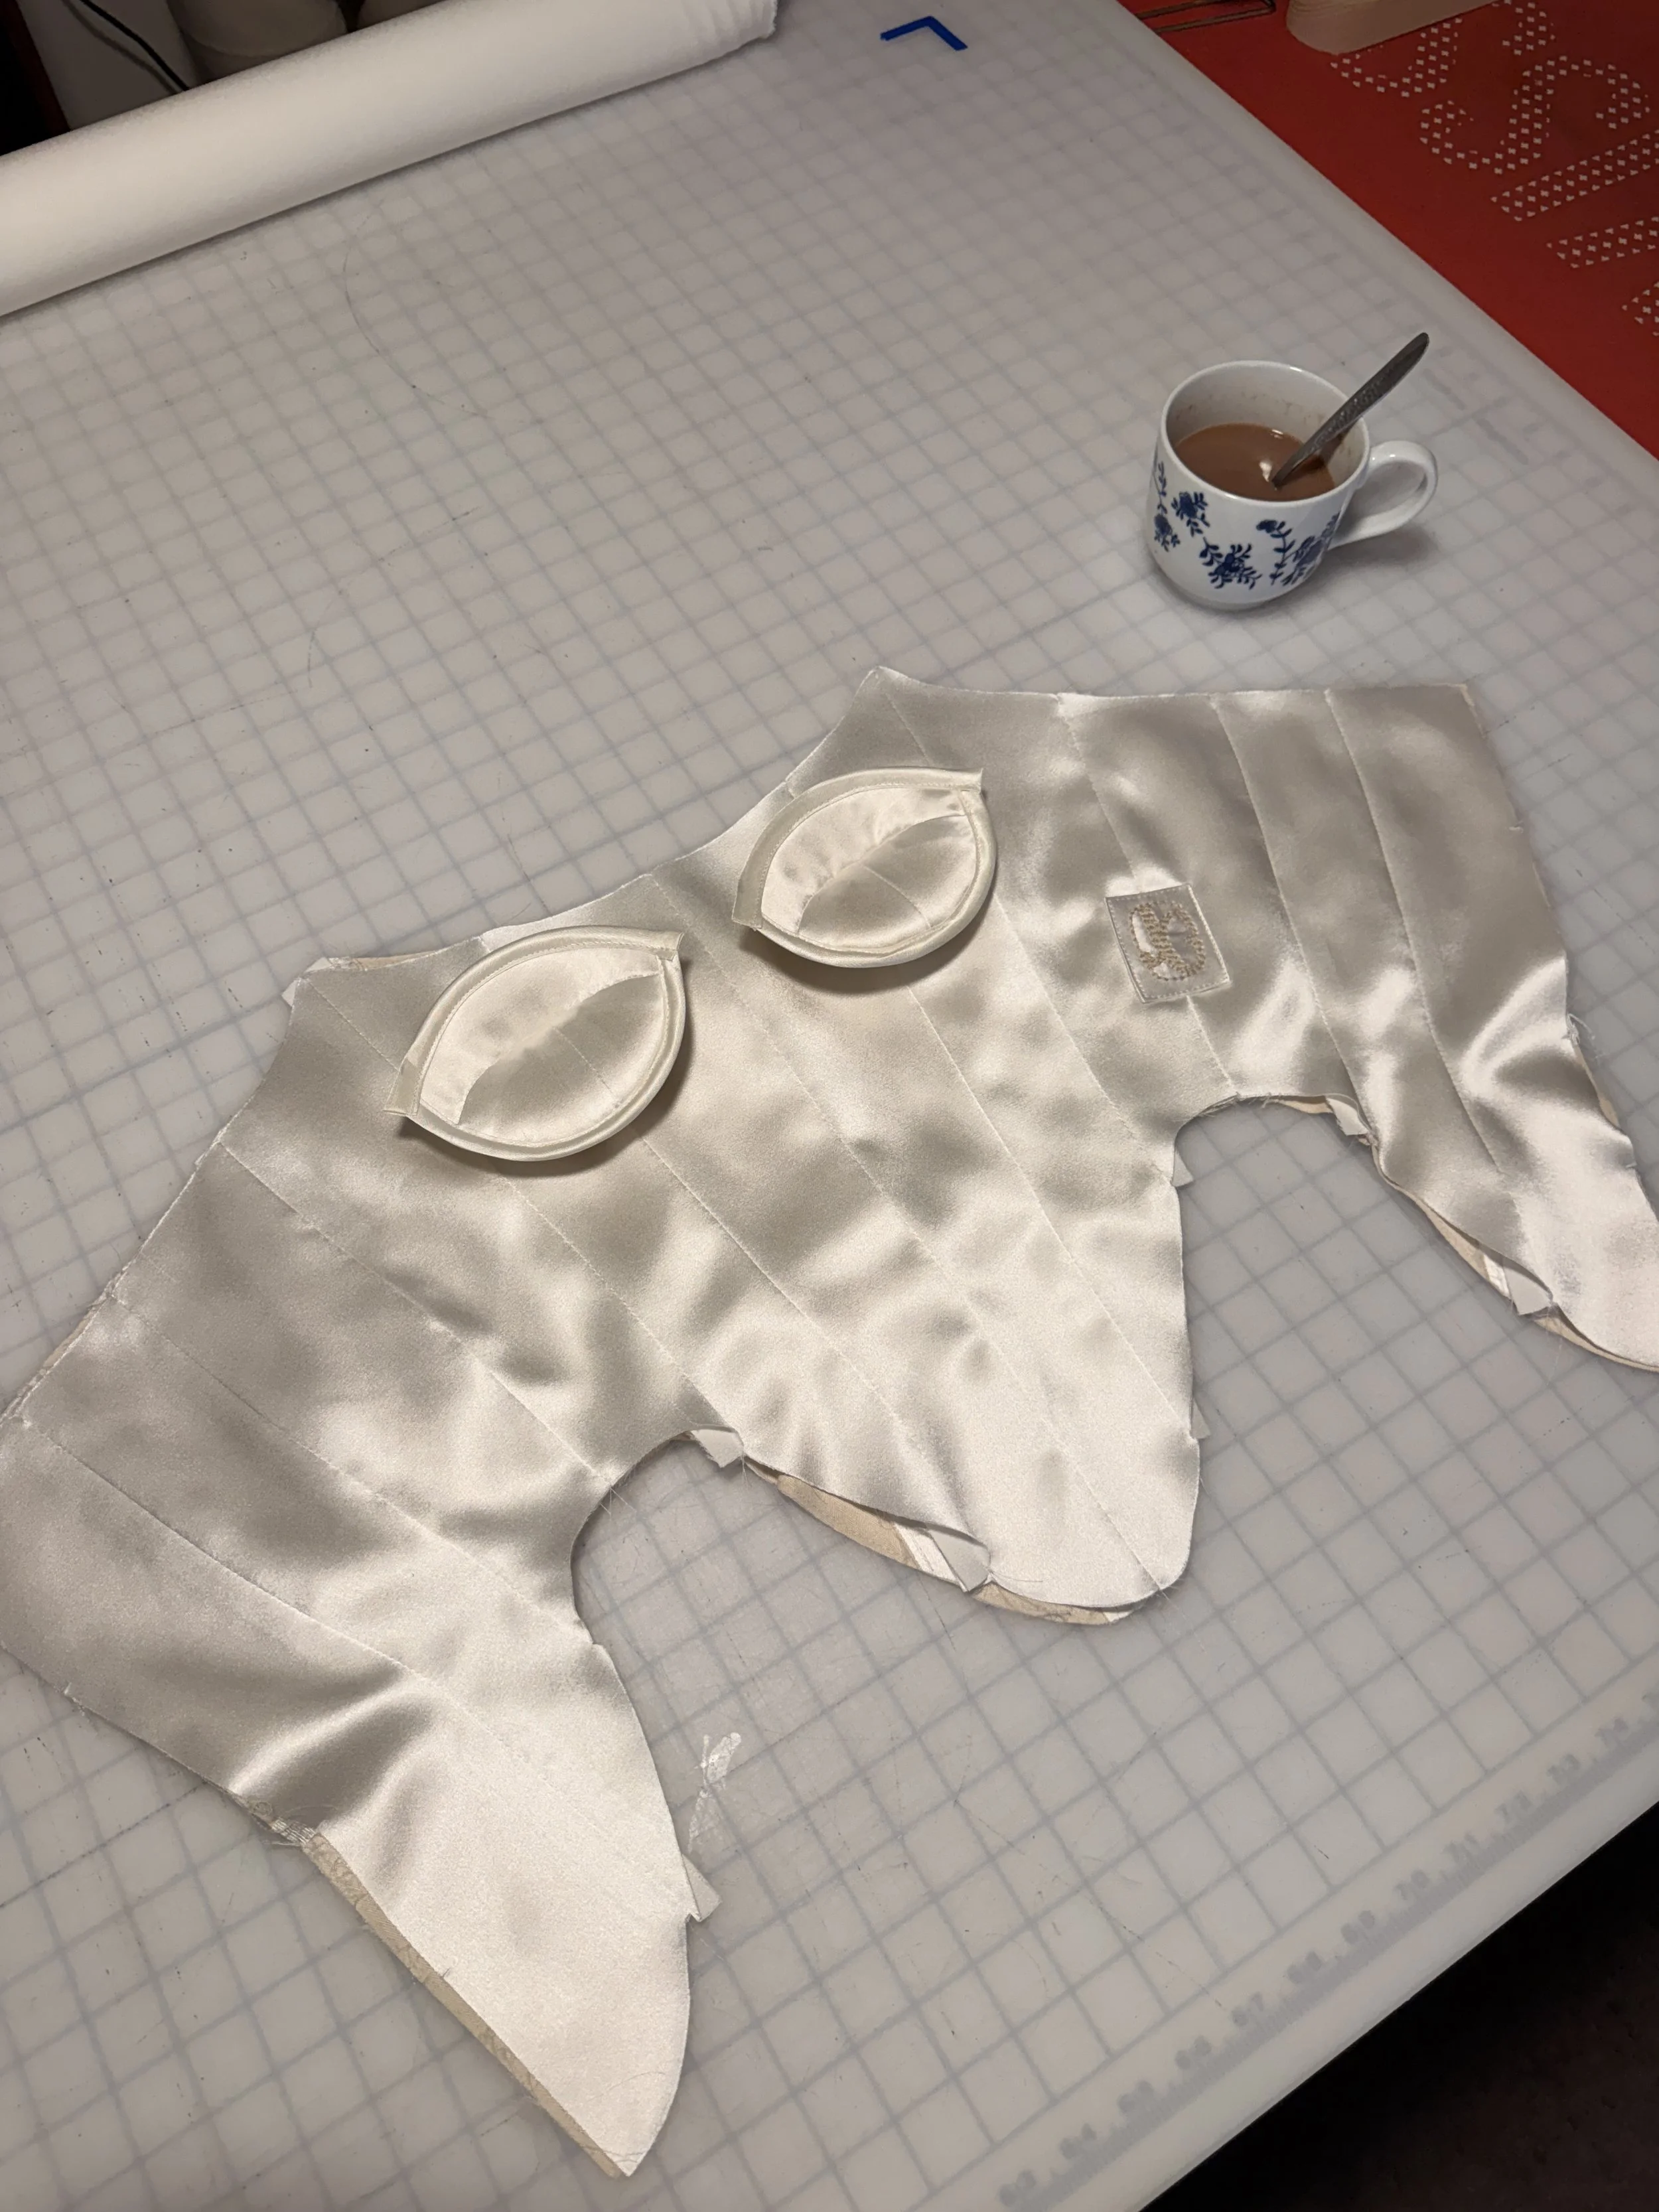
Step 8: Installing the Push Up Cups
Silk also sewn over the push up cups, and the outer edge was bias bound.
Then I hand sewed them into the lining of the corset to provide shaping and support.
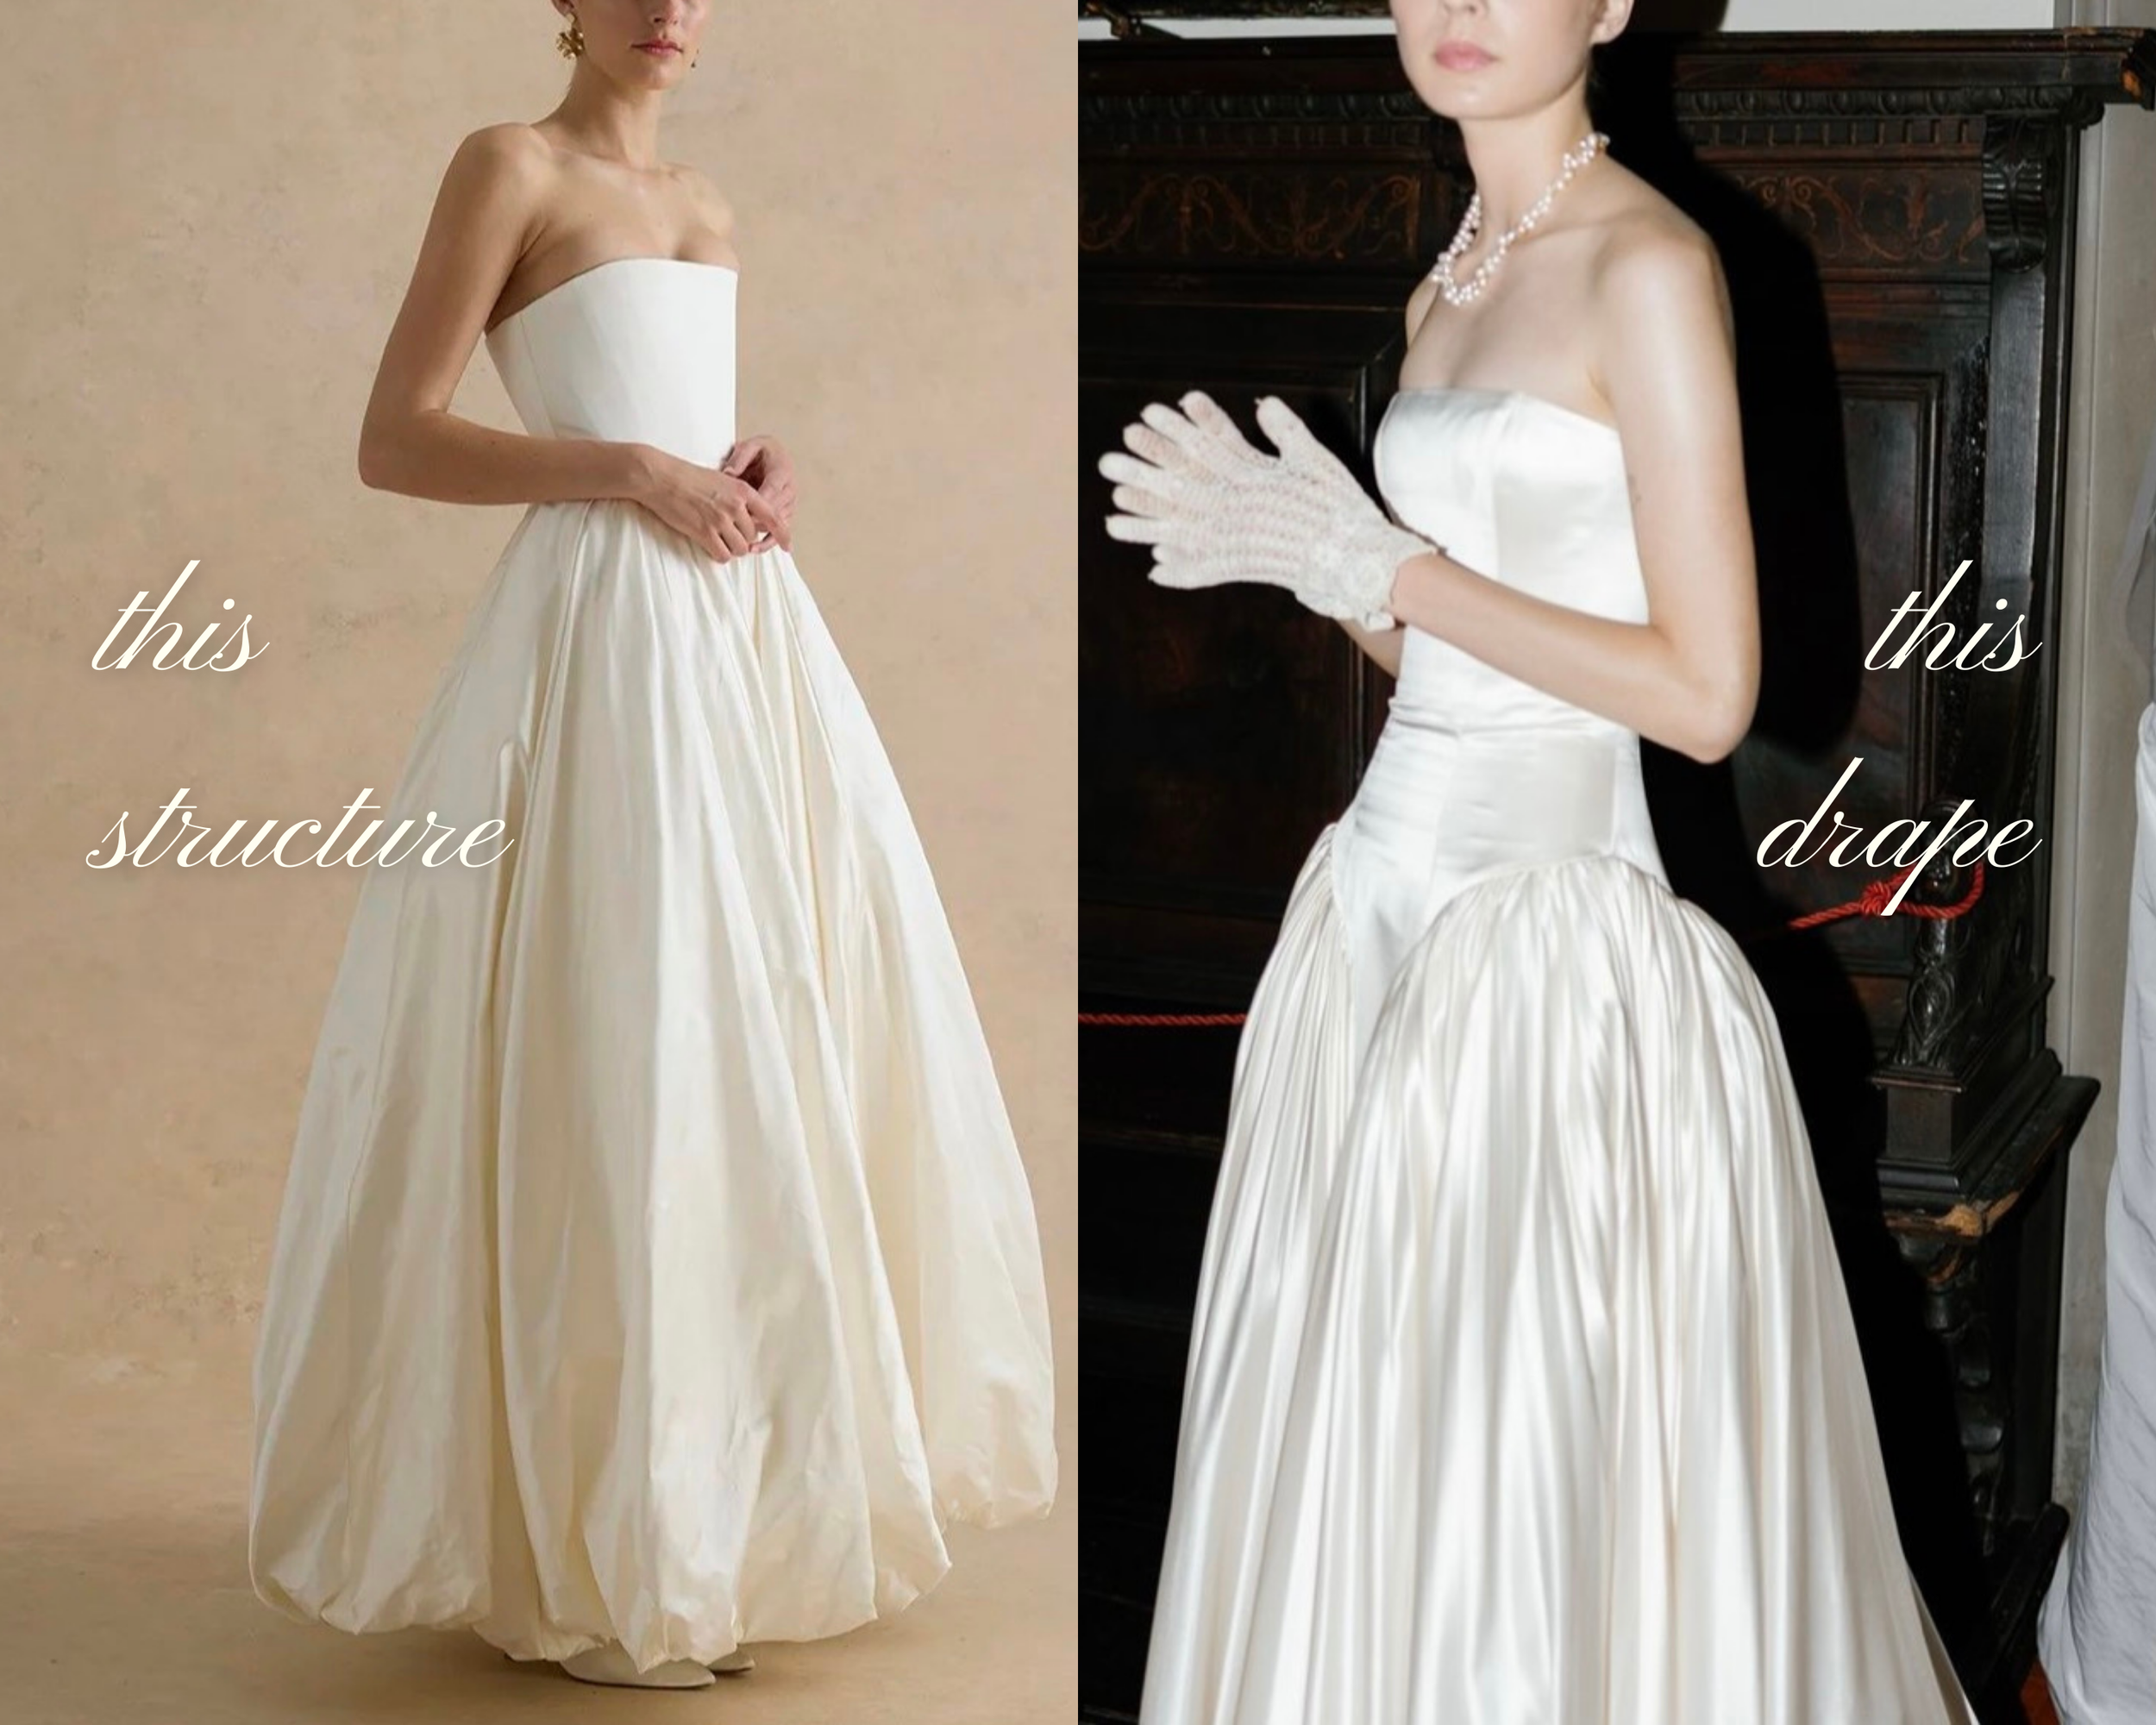
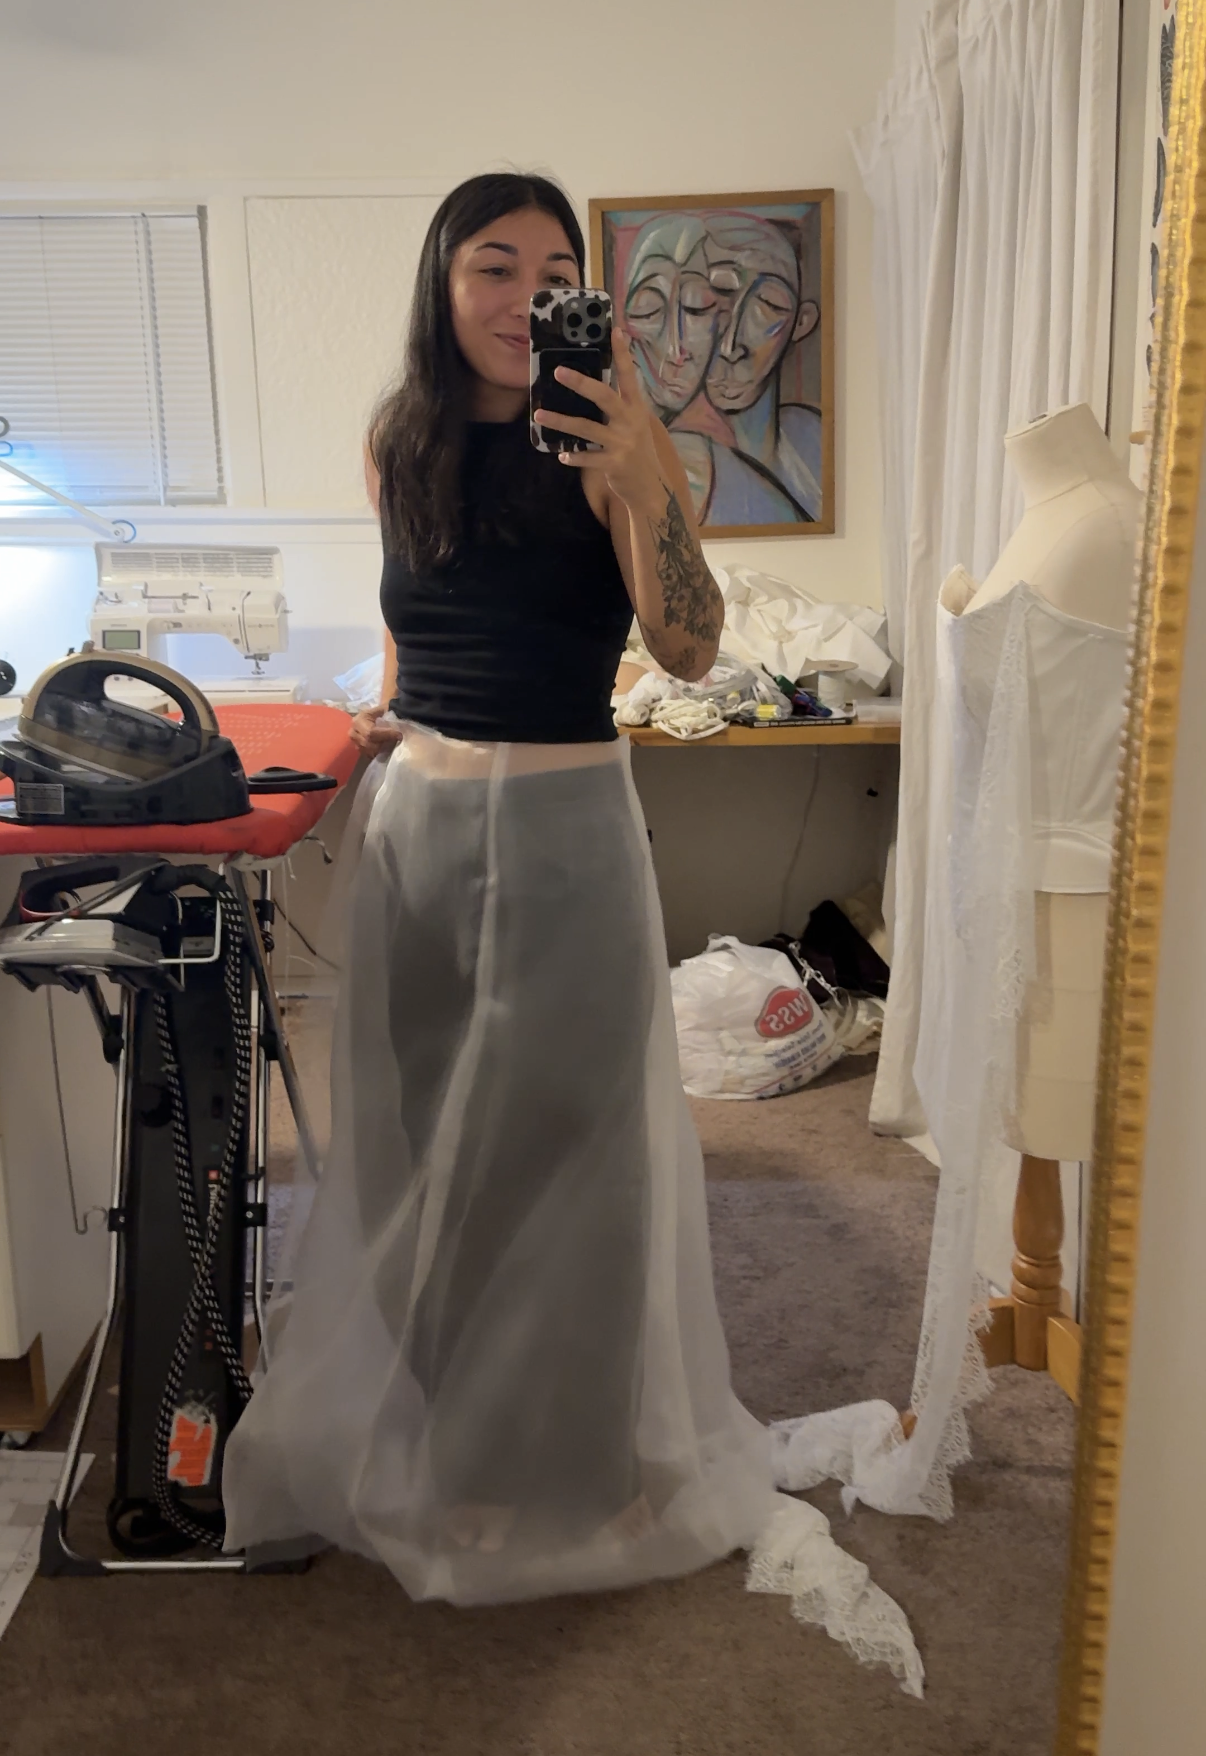
Skirt Construction Overview
The skirt was designed as a bubble skirt, which required multiple layers working together to create both shape and volume. Here are my two main inspo pics:
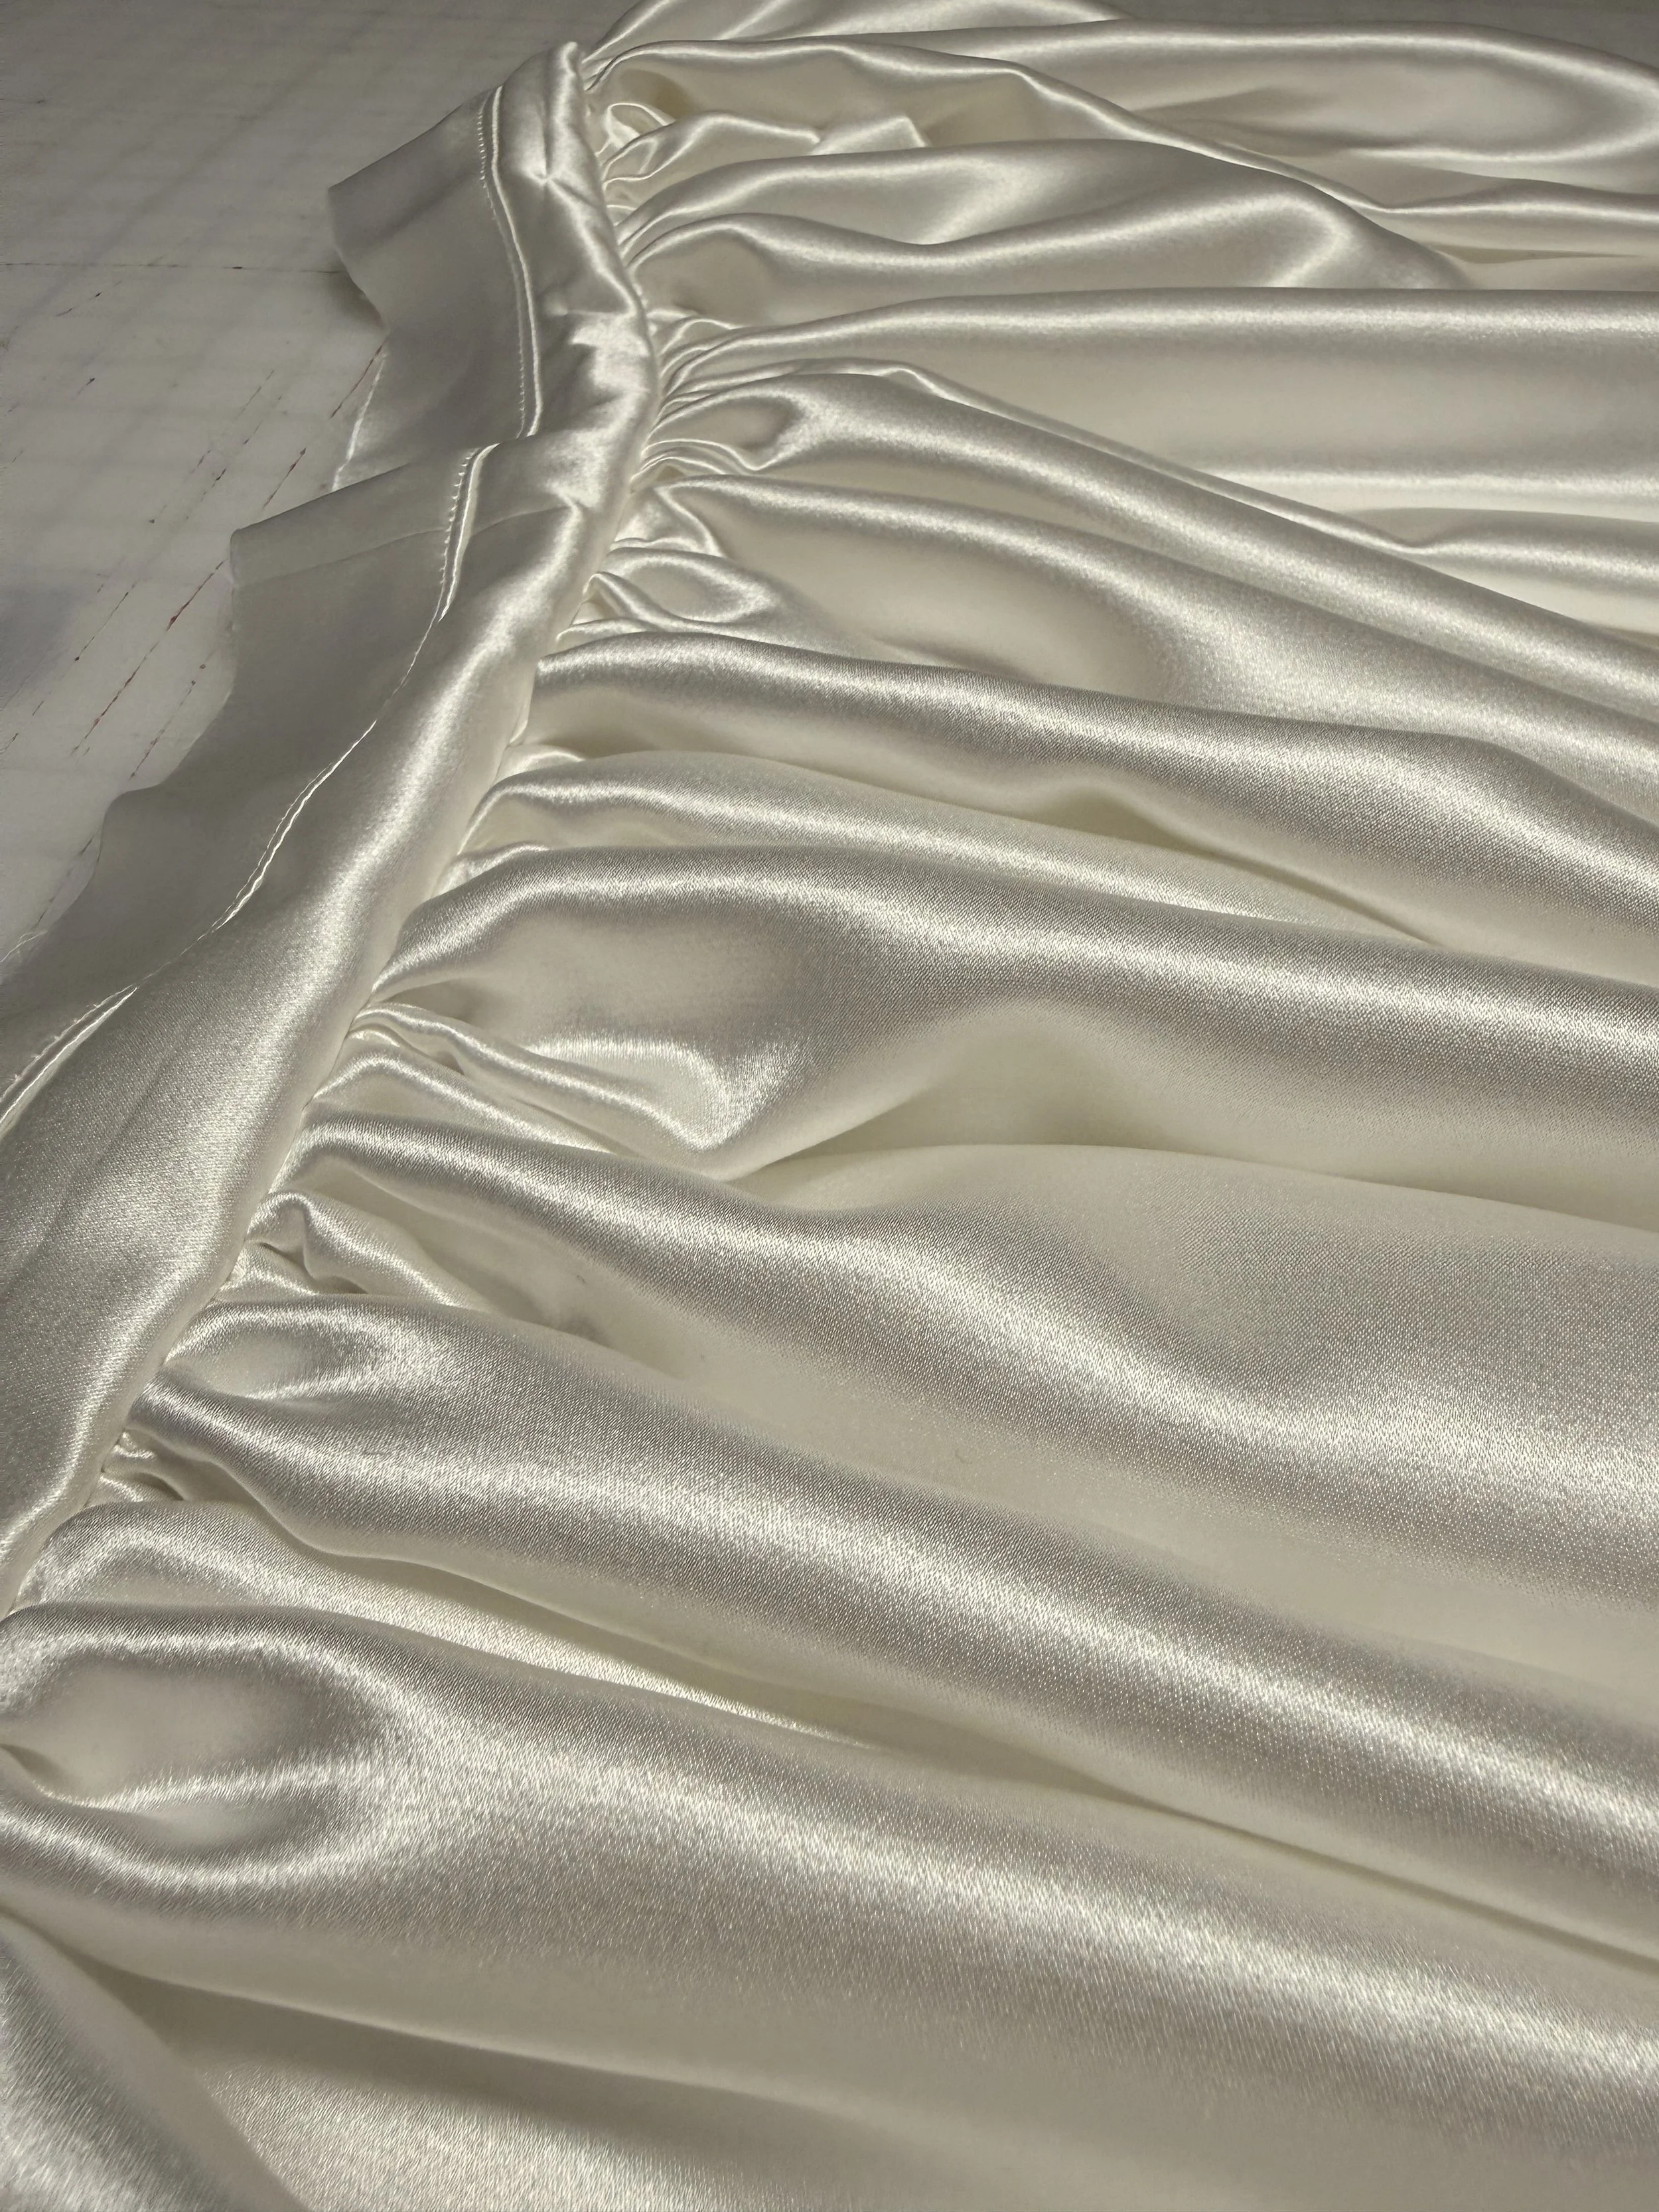
Step 1: Outer Skirt
The outer skirt was created from gathered silk rectangles.
Two rectangles were sewn together at the side seam to form the main skirt panel.
Step 2: Waistband Construction
Two sets of waistband pieces were sewn:
One containing the waist stay
One serving as the waistband lining
The waist stay functions as an invisible internal belt that helps support the weight of the skirt.
The waistband layers were sewn together at the waist edge and understitched.
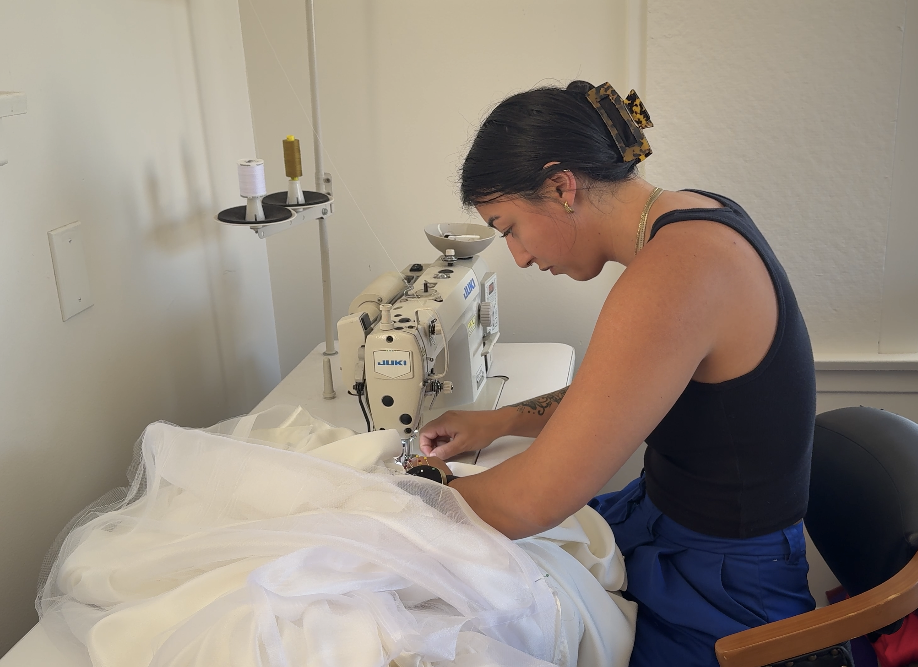
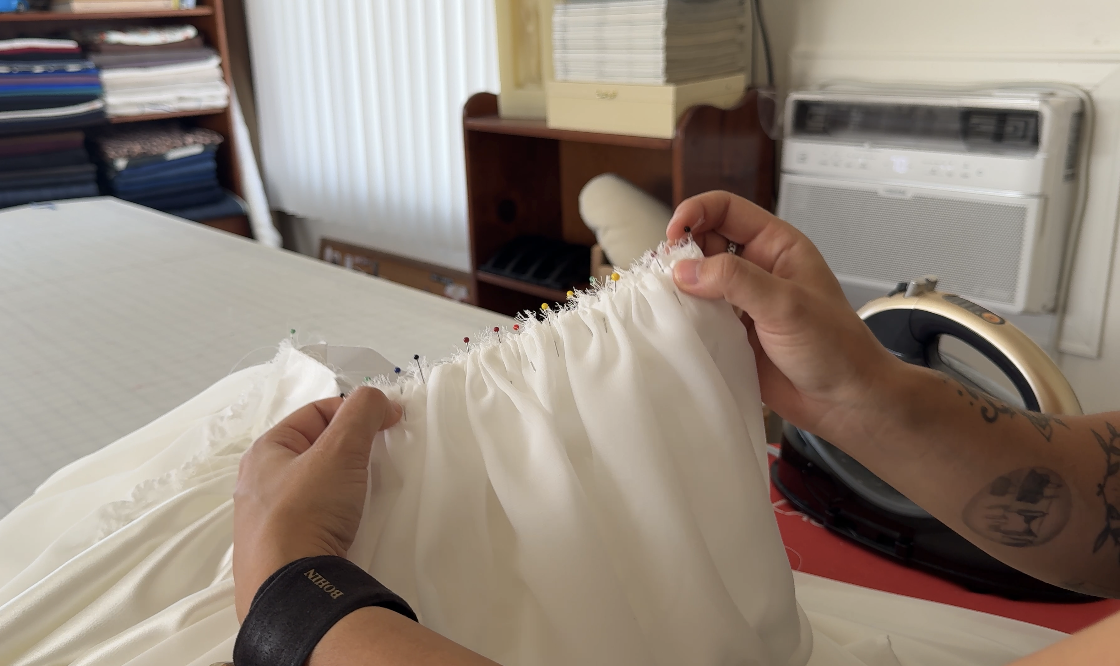
Step 3: Gathering the Skirt
The outer silk skirt was gathered and sewn into the waistband.
Step 4: Circle Skirt Structure
Two circle skirts were constructed:
One from tulle
One from organza
These circle skirts were shorter than the outer silk skirt and were designed to add volume to the bubble silhouette.
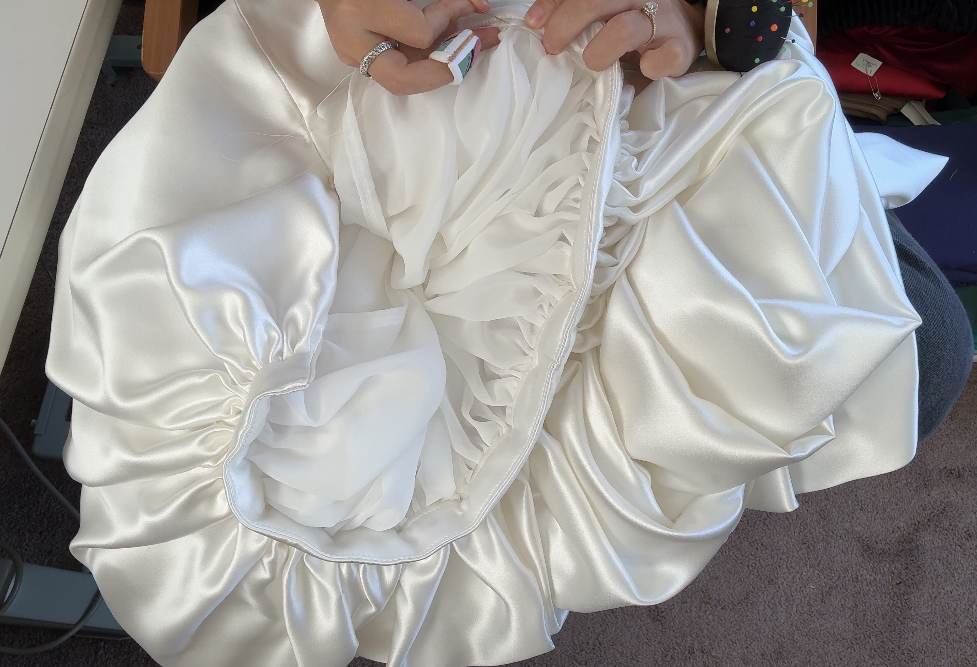
Step 5: Creating the Bubble Shape
To form the bubble skirt, the silk outer skirt was gathered at the hem and attached to the tulle and organza layers.
This created the rounded silhouette of the bubble.
Step 6: Horsehair Braid
Two layers of horsehair braid were sewn into the hemline.
Horsehair braid dramatically increases structure and helps maintain the shape of voluminous skirts.
I originally only added one layer, but after holding it up, I decided I wanted more volume, so I went back and added another layer. This worked perfectly.
Step 7: Attatching the Tulle and Organza
The tulle and organza circle skirts were then attached to the waistband.
Step 8: Georgette Lining
The lining was made from gathered rectangles of georgette.
These were sewn at the side seams and gathered into the waistband.
Unlike the outer skirt, the lining hangs freely inside the skirt.
Step 9: Zipper and Final Assembly
An invisible zipper was installed in the side seam of the skirt.
The waistband lining was then hand sewn down to finish the interior.
Two hanging ribbons were also installed at the side seams so the skirt can be hung.
(This step was originally forgotten during construction and later hand stitched in, but I wish I’d done it before hand sewing down the inner waistband.)
Final Thoughts
This dress took months of planning, research, and construction to complete, so I hope that everything I’ve learned and shared helps you on your journey.
If you're curious about the fabrics and supplies used in the dress, you can download my Wedding Dress Materials List where I share the exact materials used throughout the project, plus extra tips and resources.
And if you're interested in the lessons I learned throughout the process, I also wrote a companion blog 5 Lessons I Learned From Sewing My Wedding Dress.